


175
Before Use
Basic Guide
Advanced Guide
Camera Basics
Auto Mode / Hybrid
Auto Mode
Other Shooting
Modes
P Mode
Tv, Av, M, C1, and
C2 Mode
Playback Mode
Wi-Fi Functions
Setting Menu
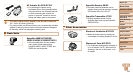
Accessories
Appendix
Index
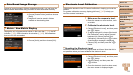
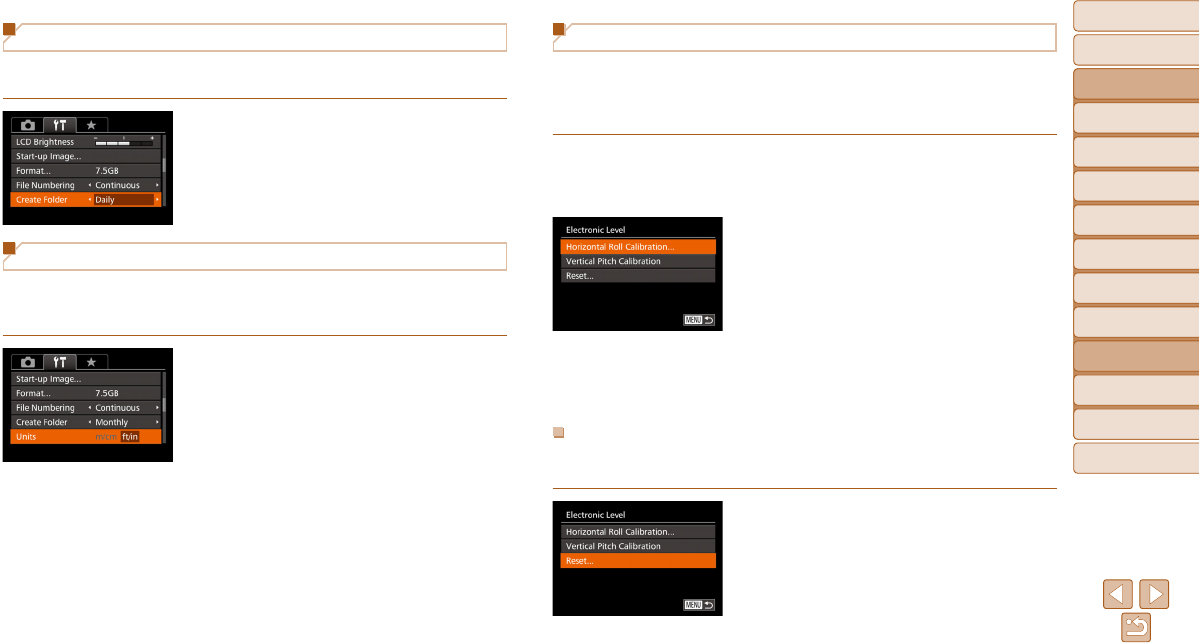
Date-Based Image Storage
Instead of saving images in folders created each month, you can have the
camera create folders each day you shoot to store shots taken that day.
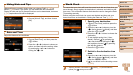
z Choose [Create Folder], and then choose
[Daily].
z Images will now be saved in folders
created on the shooting date.
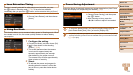
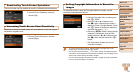
Metric / Non-Metric Display
Change the unit of measurement shown in the zoom bar (=
31), the MF
indicator (=
87), GPS information for elevation (=
165), and elsewhere
from m/cm to ft/in as needed.
z Choose [Units], and then choose [ft/in].
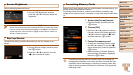
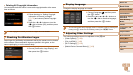
Electronic Level Calibration
Calibrate the electronic level if it seems ineffective in helping you level the
camera.
For greater calibration accuracy, display grid lines (=
107) to help you
level the camera in advance.
1 Make sure the camera is level.
z Place the camera on a flat surface, such
as a table.
2 Calibrate the electronic level.
z Choose [Electronic Level], and then press
the <m> button.
z To adjust left/right tilt, choose [Horizontal
Roll Calibration], and to adjust forward/
backward tilt, choose [Vertical Pitch
Calibration], followed by the <m> button.
A confirmation message is displayed.
z Choose [OK], and then press the <m>
button.
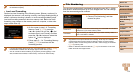
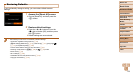
Resetting the Electronic Level
Restore the electronic level to its original state as follows. Note that this is
not possible unless you have calibrated the electronic level.
z Choose [Electronic Level], and then press
the <m> button.
z Choose [Reset], and then press the
<m> button.
z Once the electronic level has been reset,
the menu screen is displayed again.