


82
Before Use
Basic Guide
Advanced Guide
Camera Basics
Auto Mode / Hybrid
Auto Mode
Other Shooting
Modes
P Mode
Tv, Av, M, C1, and
C2 Mode
Playback Mode
Wi-Fi Functions
Setting Menu
Accessories
Appendix
Index
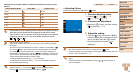
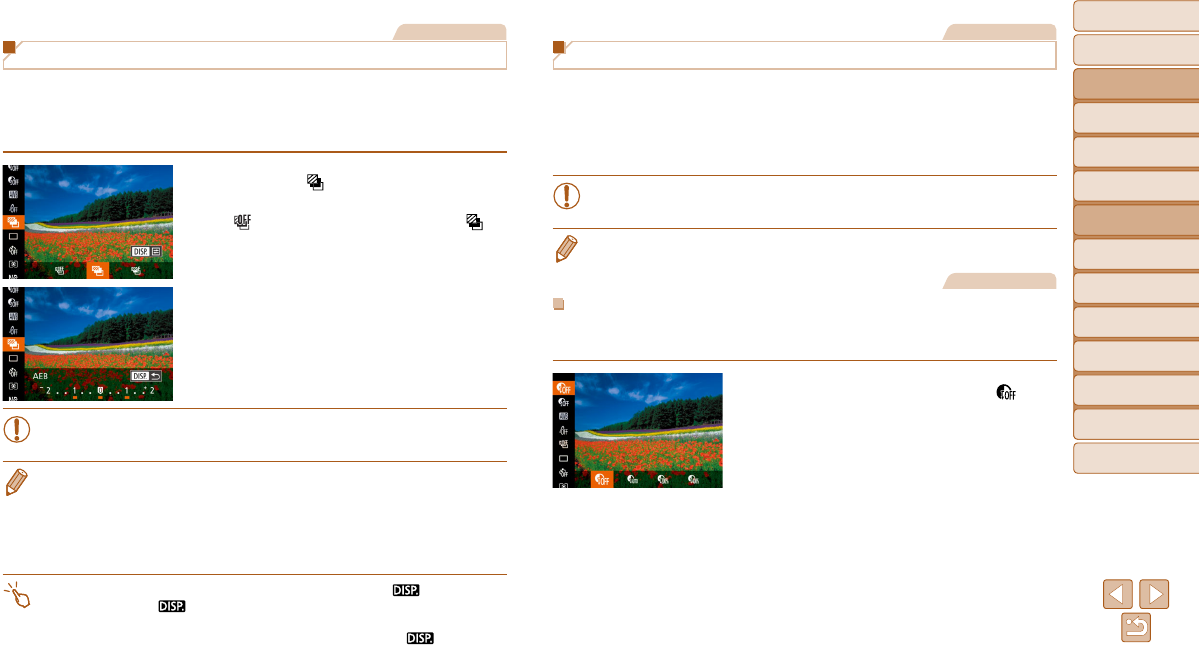
Still Images
Auto Exposure Bracketing (AEB Shooting)
Three consecutive images are captured at different exposure levels
(standard exposure, underexposure, and then overexposure) each time
you shoot. You can adjust the amount of underexposure and overexposure
(relative to standard exposure) from –2 to +2 stops in 1/3-stop increments.
1 Choose [ ].
z Press the <m> button, choose
[
] in the menu, and then choose [ ]
(=
25).
2 Configure the setting.
z Press the <l> button, and then
adjust the setting by pressing the
<q><r> buttons or turning the <7> dial.
• AEB shooting is only available in [!] mode (=
96).
• Continuous shooting (=
95) is not available in this mode.
• If exposure compensation is already in use (=
78), the value specified for
that function is treated as the standard exposure level for this function.
• You can also access the setting screen of step 2 by pressing the <l>
button when the exposure compensation screen (=
78) is displayed.
• Three shots are taken, regardless of any quantity specified in [$] (=
40).
•
In [Blink Detection] mode (= 53), this function is only available for the final shot.
•
To access the setting screen in step 2, you can either touch [ ] on the screen
in step 1 or touch [
] on the exposure compensation screen (= 78).
• You can also configure this setting by touching or dragging the bar on the
setting screen in step 2 to specify a value and then touching [
].
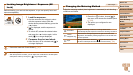
Still Images
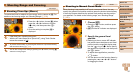
Correcting Image Brightness (i-Contrast)
Before shooting, excessively bright or dark image areas (such as faces or
backgrounds) can be detected and automatically adjusted to the optimal
brightness.
To avoid washed-out highlights, specify Dynamic Range Correction. To
preserve image detail in shadows, specify Shadow Correct.
• Under some shooting conditions, correction may be inaccurate or
may cause images to appear grainy.
• You can also correct existing images (=
134).
Still Images
Dynamic Range Correction (DR Correction)
Tone down bright image areas, which might otherwise look washed out, as
follows.
z Press the <m> button, choose [ ] in
the menu, and choose the desired option
(=
25
).
z The option you configured is now
displayed.