


199
Before Use
Basic Guide
Advanced Guide
Camera Basics
Auto Mode / Hybrid
Auto Mode
Other Shooting
Modes
P Mode
Tv, Av, M, C1, and
C2 Mode
Playback Mode
Wi-Fi Functions
Setting Menu
Accessories
Appendix
Index
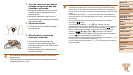
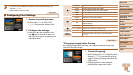
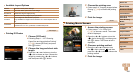
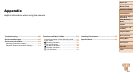
2 Adjust the cropping frame as
needed.
z To resize the frame, move the zoom lever
or turn the <7> dial.
z To move the frame, press the
<o><p><q><r> buttons.
z To rotate the frame, press the <l>
button.
z When finished, press the <m> button.
3 Print the image.
z Follow step 7 in “Easy Print” (=
197)
to print.
• Cropping may not be possible at small image sizes, or at some
aspect ratios.
• Dates may not be printed correctly if you crop images shot with
[Date Stamp
] selected.
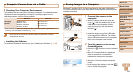
Still Images
Choosing Paper Size and Layout before Printing
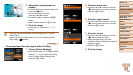
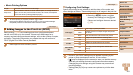
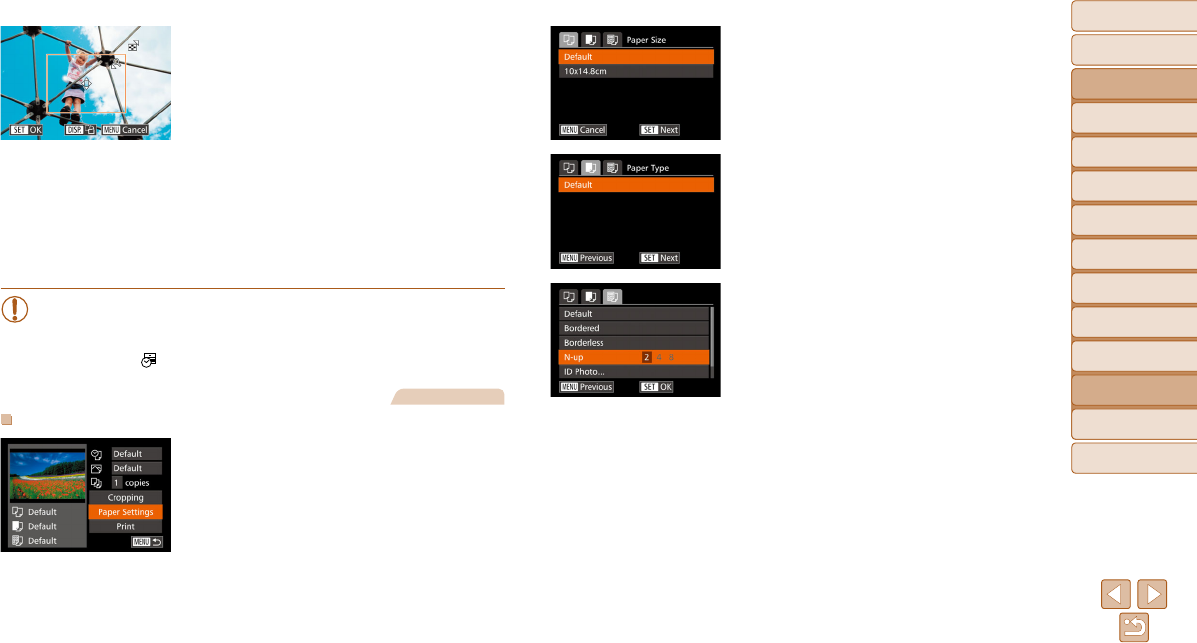
1 Choose [Paper Settings].
z After following step 1 in “Configuring Print
Settings” (=
198) to access the printing
screen, choose [Paper Settings] and
press the <m> button.
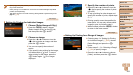
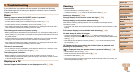
2 Choose a paper size.
z Press the <o><p> buttons or turn the
<7> dial to choose an option, and then
press the <m> button.
3 Choose a type of paper.
z Press the <o><p> buttons or turn the
<7> dial to choose an option, and then
press the <m> button.
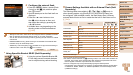
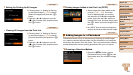
4 Choose a layout.
z Press the <o><p> buttons or turn the
<7> dial to choose an option.
z When choosing [N-up], press the
<q><r> buttons to specify the number of
images per sheet.
z Press the <m> button.
5 Print the image.