


Note
If only one image is selected, the thumbnail does not appear below Preview.
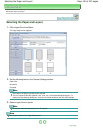
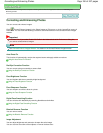
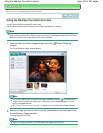
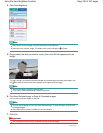
3.
Make sure that Auto is selected.
4.
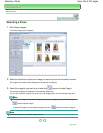
Click Auto Photo Fix, then click OK.
The entire photo is corrected automatically and the
(Correction/Enhancement) mark appears on
the upper left of the image.
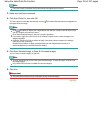
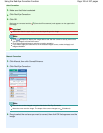
Note
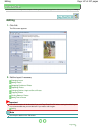
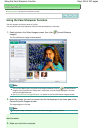
Click
(Compare) to display the images before and after the correction side by side so that
you can compare and check the result.
Click Reset Selected Image to undo the correction operation.
If you want to apply the correction to all the selected images at once, select the Apply to all
images checkbox.
Select the Prioritize Exif Info checkbox to apply corrections primarily based on the settings
made at the time of shooting.
Deselect this checkbox to apply corrections based on the image analysis results. It is
recommended that you normally select this setting.
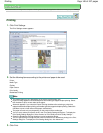
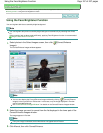
5.
Click Save Selected Image or Save All Corrected Images.
You can save corrected images as new files.
Note
To save only the image you like, click Save Selected Image. To save all images, click Save All
Corrected Images.
Only JPEG/Exif file format is available for corrected images.
6.
Click Exit.
Important
The corrections will be lost if you exit before saving corrected images.
Page top
Page 153 of 437 pagesUsing the Auto Photo Fix Function