86 Maintaining Your Printer
11. Press the H ink button. The printer begins charging the ink delivery system.
The green P power light and red H ink lights flash and the printer makes noise.
Charging takes about 90 seconds. When it’s finished, the green P power light
stops flashing and stays on. The red H ink light and the light(s) above the
cartridge(s) go out.
Caution: Never turn off the printer while the green P power light is flashing,
unless the printer hasn’t moved or made noise for more than 5 minutes.
Aligning the Print Head
If your printouts contain misaligned vertical lines, or you see light or dark horizontal
banding, you may need to align the print head. You can have the printer
automatically check and align the print head or you can check and adjust the
alignment yourself.
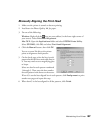
Automatically Aligning the Print Head
1. Make sure the printer is turned on but not printing.
2. Load at least three sheets of letter-size Photo Quality Ink Jet paper.
3. Do one of the following:
Windows: Right-click the icon on your taskbar (in the lower right corner of
your screen). Select
Print Head Alignment.
Mac OS X: Open the Applications folder and select EPSON Printer Utility.
Select SP R2400, click OK, and select Print Head Alignment.
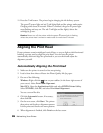
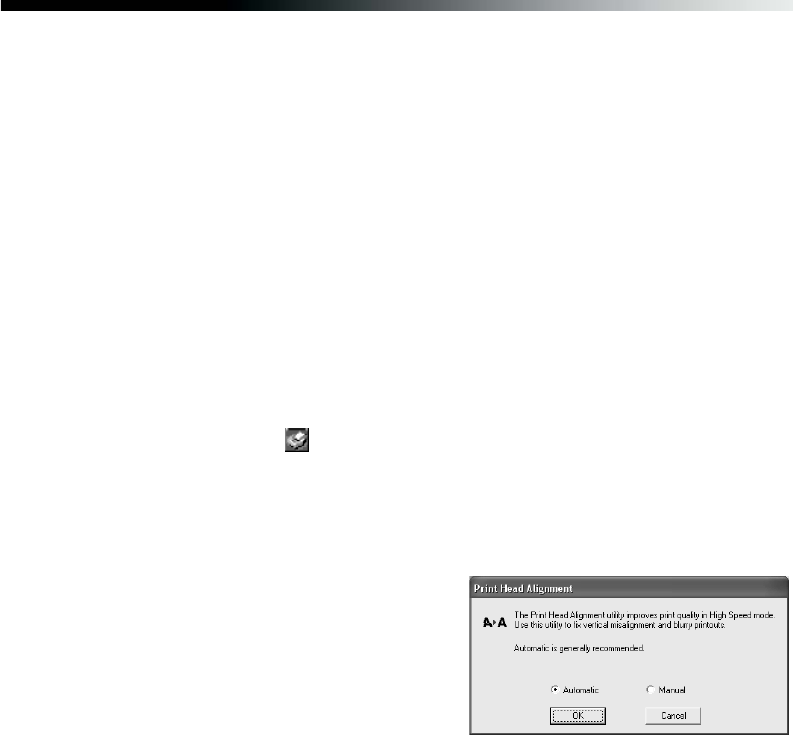
You see a screen like this:
4. Click the Automatic button, if necessary,
then click
OK.
5. On the next screen, click Start. The printer
then prints and checks an alignment pattern.
It then prints and checks two more patterns.
6. When alignment is finished, click Finish on the last screen.


