


SWITCHING EXTERNAL INPUT RECORDING METHOD (PHOTO INPUT)
When "Input Source: LINE or S LINE" is specified, you can record stills of externally input images
on a card. The DVD video camera/recorder can record an external image with little movement by
specifying "Frame", but "Field" is recommended for recording image with movement.
The DZ-HS300A cannot receive any externally input signal.
_ee dis
for_a ,
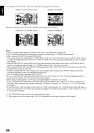
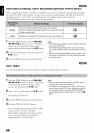
Does not suit recording of frequently moving video
Frame subjects, despite high image quality. Frame suits recording [_
of less moving video.
Field Suitable for recording of frequently moving video subjects.
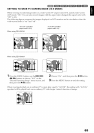
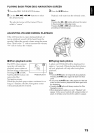
1 Press the MENU button, use the I<_/l_/
_l/l_/k/ll buttons to choose "PHOTO
Input" on the "Record Functions Setup"
menu screen, and then press the I_/|| button.
2 Select the desired option and then press the
I_/ll button.
3 Press the MENU button to end the setting.
SELF-TIMER
Note:
• The PHOTO Input setting can be confirmed using the
on-screen information.
• The PHOTO Input setting will be stored in memory
even when the DVD video camera/recorder is turned
off.
• Refer to "Recording (Dubbing) Images", page 115 to
see how to connect the DVD video camera/recorder
to another device.
You can record photos using the self-timer function, as with ordinary cameras.
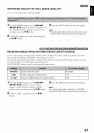
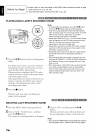
1Press the MENU button, use the I<_/IN_/
<</ll_/l_/ll buttons to choose "Self Timer"
on the "Record Functions Setup" menu
screen, and then press the I_/|1 button.
2 Select "On", and then press the I_/|1 button.
The self-timer will be set.
3 Press the MENU button to end the setting.
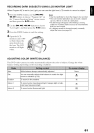
4 Press the PHOTO/SELECT button.
The recording indicator at the front of DVD
video camera/recorder will blink.
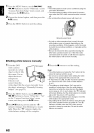
The self-timer indicator will start to count
down, and recording will commence
approximately 10 seconds late1:
Note:
• You can also check that self-timer has been set by
reviewing the on-screen information.
• To release the self-timer mode, choose "Off" on the
menu screen or turn DVD video camera/recorder off.
• To suspend self-timer, press the PHOTO/SELECT
button again before recording starts, or press the •
button.
68