239
Wi-Fi
Using “LUMIX CLUB”
Acquire a “LUMIX CLUB” login ID (free).
If you register this unit to the “LUMIX CLUB”, you can synchronize images between the
devices you are using, or transfer these images to WEB services.
Use the “LUMIX CLUB” when uploading pictures to WEB services or external AV device.
•
You can set the same “LUMIX CLUB” login ID for this unit and a smartphone/tablet. (P241)
1 Select [Wi-Fi] in the [Setup] menu. (P37)
2 Select [Wi-Fi Setup] in the [Wi-Fi] menu.
3 Press 3/4 to select [LUMIX CLUB], and press [MENU/SET].
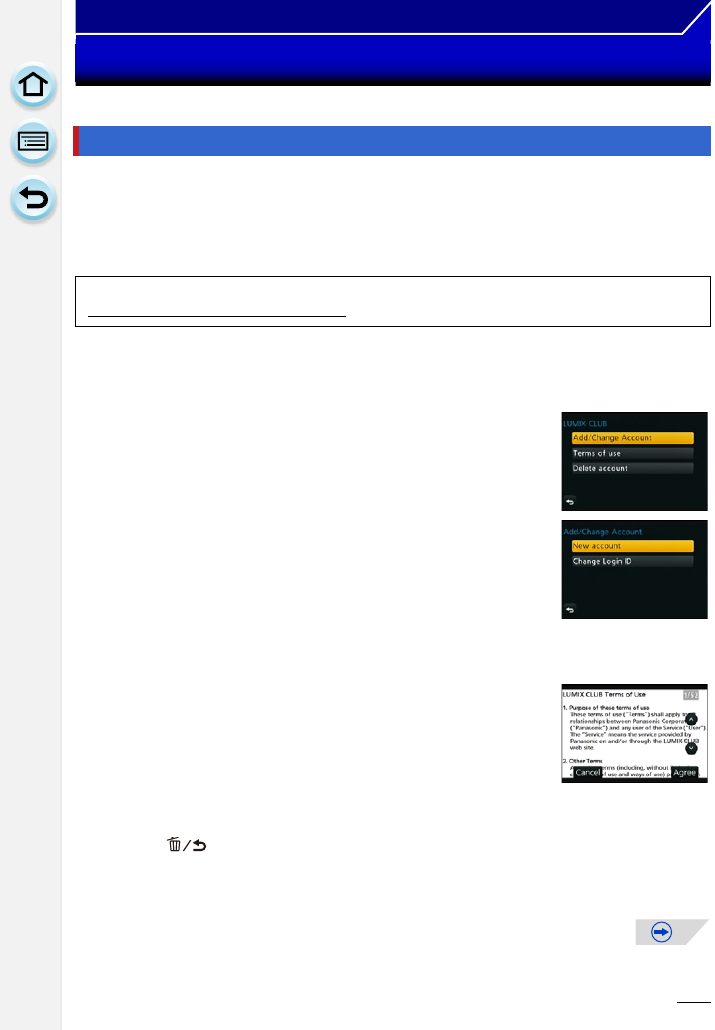
4 Press 3/4 to select [Add/Change Account], and press
[MENU/SET].
5
Press
3
/
4
to select [New account], and press [MENU/SET].
• Connect to the network. Proceed to the next page by pressing
[MENU/SET].
• A confirmation screen will be displayed if a login ID has already
been acquired for the camera. Select [Yes] to acquire a new
login ID, or [No] if you do not need to acquire a new login ID.
6 Select the method for connecting to a wireless access point, and set.
•
Refer to P217 for details.
7 Read through the “LUMIX CLUB” terms of use and press
[MENU/SET].
•
You can switch pages by 3/4.
• You can enlarge (2k) the display by rotating the rear dial to the
right.
• You can reset the enlarged display to its original size (1k) by
rotating the rear dial to the left.
• You can move the position of the enlarged display with 3/4/2/1.
• Press [ ] to cancel the process without acquiring a login ID.
8 Enter a password and press [MENU/SET].
•
Enter any combination of 8 to 16 characters and numbers for the password.
• For details on how to enter characters, refer to “Entering Text” section on P64.
About the [LUMIX CLUB]
Refer to the “LUMIX CLUB” site for details.
http://lumixclub.panasonic.net/eng/c/


