13
Quick Start Guide for Software
Features
The following software programs are contained on the provided CD-ROM.
• Confirming the environment of connecting equipment: see page 130.
Installation Guide (see page 130 for details)
1 Installing USB Driver.
• Be sure you do not connect the USB Cable before installing the USB Driver.
• Insert the provided CD-ROM into the PC and “Setup Menu” will activate: you can install the USB Driver from
the “Setup Menu”.
• After the installation completes, the PC can recognize the DVD Video Camera when the DVD Video Camera
and the PC are connected with the USB cable.
2 Install the software (DVD-RAM Driver, MyDVD and DVD-MovieAlbumSE).
• The software can also be installed from the “Setup Menu”.
Note:
If the “Setup Menu” does not appear, double-click the CD-ROM drive icon.
Suggestions for using software (see page 141 for details)
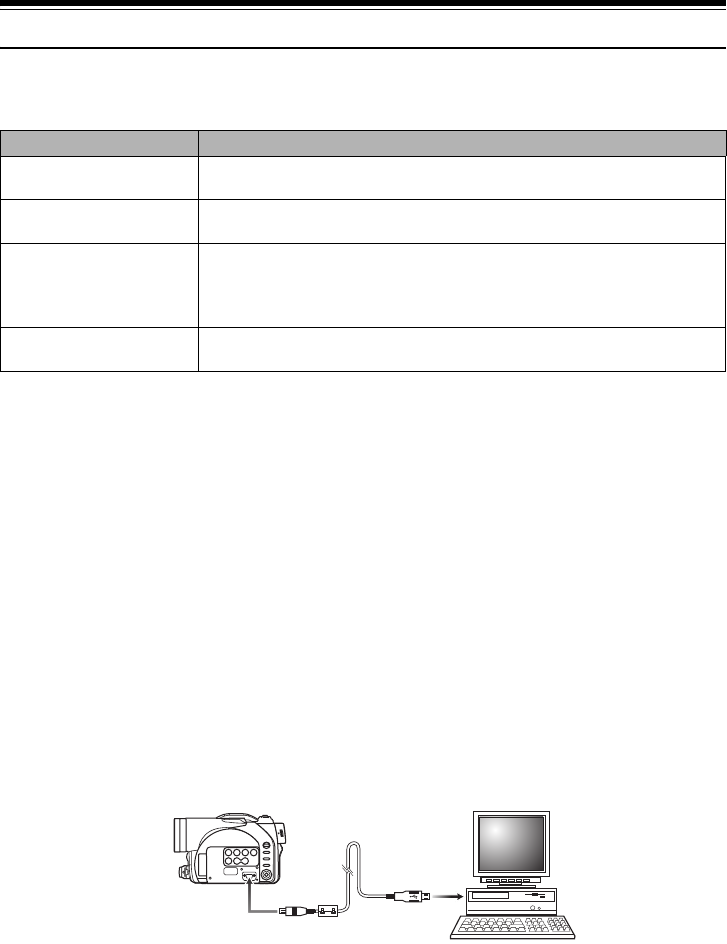
1 Connect this DVD Video Camera to the PC as illustrated below.
• Please ensure a DVD-RAM disc with recorded material is loaded into the DVD Video Camera before
proceeding.
2 Edit motion image files using DVD-MovieAlbumSE.
• You can edit motion image files on the DVD-RAM disc.
Software Feature
USB Driver Install this driver when using the provided USB Cable to connect this
DVD Video Camera to a PC.
DVD-RAM Driver Install this driver when using stills and images recorded on a DVD-RAM
disc on a PC.
DVD-MovieAlbumSE By combining DVD-MovieAlbumSE with VDR-M50PP/VDR-M70PP DVD
Video Camera, it is possible to use playback, recording and editing on
the DVD-RAM disc. It is also possible to transfer extracted data and title
information etc. to MyDVD.
MyDVD Use this software when creating a DVD-Video disc from motion images
edited using DVD-MovieAlbumSE.
To USB port
