


D:\Printer\DPPFP85.95 series\IM\3285420121DPPFP85.95IM_GB\3285420121\3285420121DPPFP8595IM_GB\050C03.fm
Master: Left
DPP-FP85/FP95 3-285-420-12 (1)
22
GB
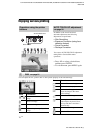
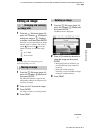
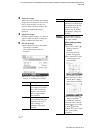
1 From the Edit menu (page 18),
press g/G to select (Adjust) and
then press ENTER.
The Adjust menu is displayed.
2 Press f/F to select the desired
adjustment tool and press ENTER.
The adjustment screen of the selected tool
appears.
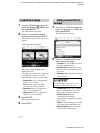
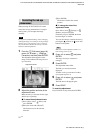
Press g/G to adjust an image while
checking the level.
The image before adjustment is displayed
on the left half of the screen, and the
adjusted image is displayed on the right.
• Brightness: Press G to brighten the
picture or g to darken it.
• Tint: Press G to make the picture
greenish or g to make it reddish.
• Saturation: Press G to deepen the
colors or g to lighten them.
• Sharpness: Press G to sharpen the
outlines or g to soften them.
3 Press ENTER.
The adjustment takes effect.
4 Press PRINT.
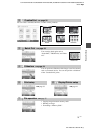
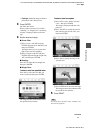
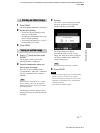
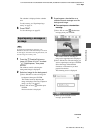
1 From the Edit menu (page 18),
press g/G to select (Filter) and
then press ENTER.
The Filter menu is displayed.
.
2 Press f/F to select the filter you
want to add to the image.
• No Filter: No special filter is used on
the image (default setting).
• Single Color: Changes all the colors
except for the one specified color into
gray scale.
• Painting: Makes the image look like a
painted picture.
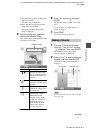
• Cross Filter: Adds a cross, starburst
effect to the light source to print an
image with a sparkling impression.
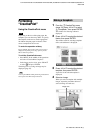
• Partial Color: Makes the
surroundings of the subject
monochrome to emphasize the subject
in the center.
• Sepia: Changes the image to look like
an old photograph with faded colors.
• Monochrome: Changes the image
into a black and white picture.
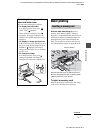
Adjusting an image
When “Brightness” is selected.
Adding a special filter to
an image
The “Painting” filter of the printer is uses the
technology of Ichikawa Soft Laboratory.