


D:\Printer\DPPFP85.95 series\IM\3285420121DPPFP85.95IM_GB\3285420121\3285420121DPPFP8595IM_GB\050C03.fm
Master: Right
DPP-FP85/FP95 3-285-420-12 (1)
31
GB
Direct printing
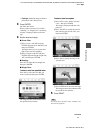
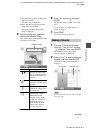
x Superimposing a stamp
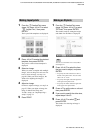
1Press g/G to select (Stamp), then
press ENTER.
The window for selecting a stamp is
displayed.
2Press g/G/f/F to select a desired
stamp and press ENTER.
The window used for adjusting the
stamp is displayed. For how to adjust an
image, see step 5 on page 27.
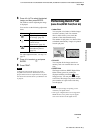
3Press g/G to select and press
ENTER.
The preview of the superimposed stamp
on the background image is displayed.
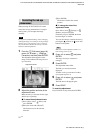
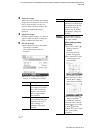
To add multiple stamps
Repeat steps
2 through 3
4 Press PRINT.
To save the image, see page 25.
To superimpose multiple
handwritten characters or preset
messages
Press
g/G to select (Handwritten
message) or (Standard format
message) and repeat step 3.
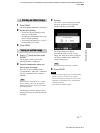
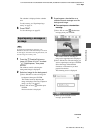
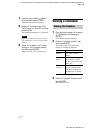
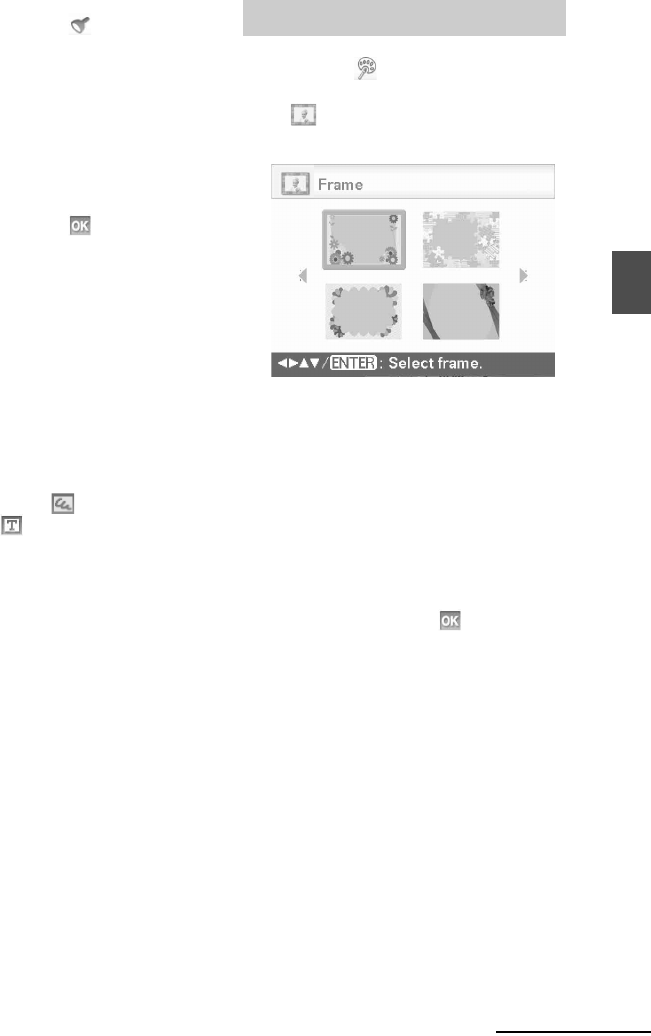
1 From the CreativePrint menu
(page 19), press g/G/f/F to select
“Frame,” then press ENTER.
The Frame templates are displayed.
2 Press g/G/f/F to select the desired
frame, then press ENTER.
The index view is displayed.
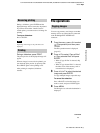
3 Press g/G/f/F to select the desired
image, then press ENTER.
The image adjustment window is
displayed. For how to adjust an image, see
step 5 on page 27.
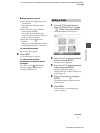
4 Press g/G to select and press
ENTER.
The selected image is displayed with the
selected frame.
5 Press PRINT.
To add a stamp, see “Superimposing a
stamp” on page 31.
Adding a frame
Continued