D:\Printer\DPPFP85.95 series\IM\3285420121DPPFP85.95IM_GB\3285420121\3285420121DPPFP8595IM_GB\080C06.fm
Master: Right
DPP-FP85/FP95 3-285-420-12 (1)
53
GB
Printing from a PC
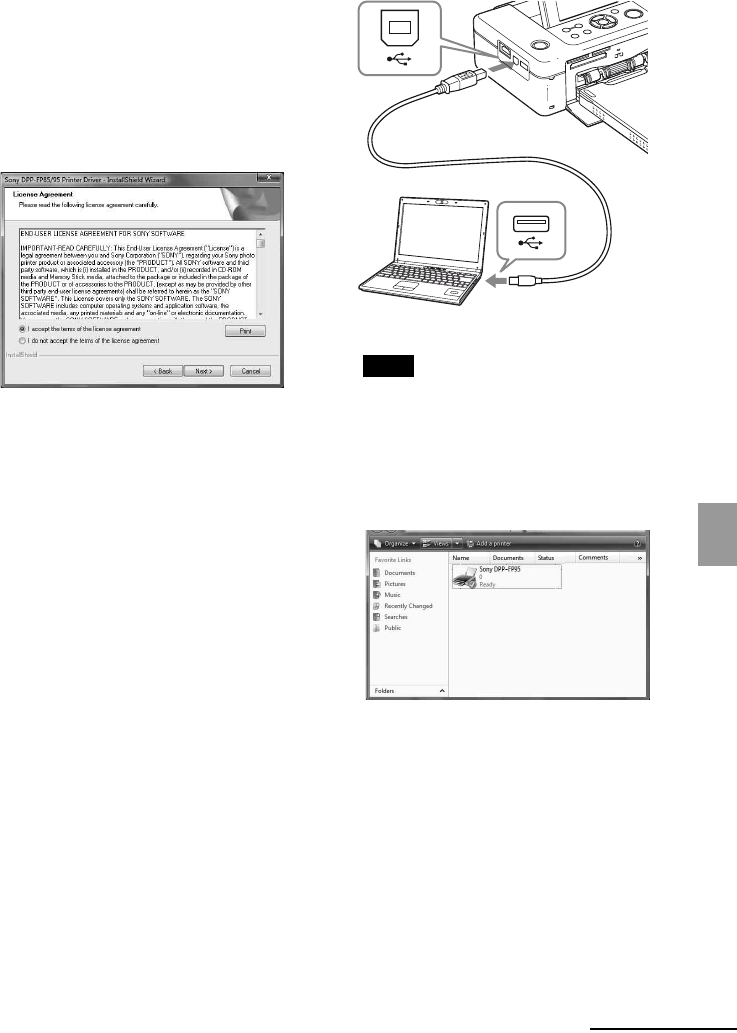
3 Click “Next.”
The license agreement dialog box is
displayed.
4 Read the agreement thoroughly,
and if you agree, check “I accept the
terms of the license agreement” and
click “Next.”
5 Click “Install.”
Installation starts.
6 When the “Sony DPP-FP95/FP85
printer driver has been successfully
installed.” dialog is displayed, click
“Finish.”
7 Press the 1 (on/standby) button to
turn on the printer.
8 Connect the USB connectors of the
printer and your PC with a USB
cable (not supplied).
Printer driver installation starts
automatically.
Note
Use a B-type USB cable shorter than 3m in
length.
9 Wait for a while, then check to see
that “Sony DPP-FP85” or “Sony
DPP-FP95” has been added to the
“Printers” or “Printers and Faxes.”
10 When the installation is complete,
remove the CD-ROM from your PC
and keep it for future use.
To continue the process and install the
Picture Motion Browser software, follow
the procedures from step 2 on page 55.
To USB
connector
To USB connector
Windows PC
Continued
