D:\Printer\DPPFP85.95 series\IM\3285420121DPPFP85.95IM_GB\3285420121\3285420121DPPFP8595IM_GB\050C03.fm
Master: Left
DPP-FP85/FP95 3-285-420-12 (1)
28
GB
3 Select an image.
When you select a template with multiple
images, select an image for each area. For
how to select an image, see step 4 on
page 26. When you select image(s), the
window for adjusting the image is
displayed.
4 Adjust the image.
For how to adjust an image, see step 5 on
page 27. When you adjust an image, the
image is added to the image area.
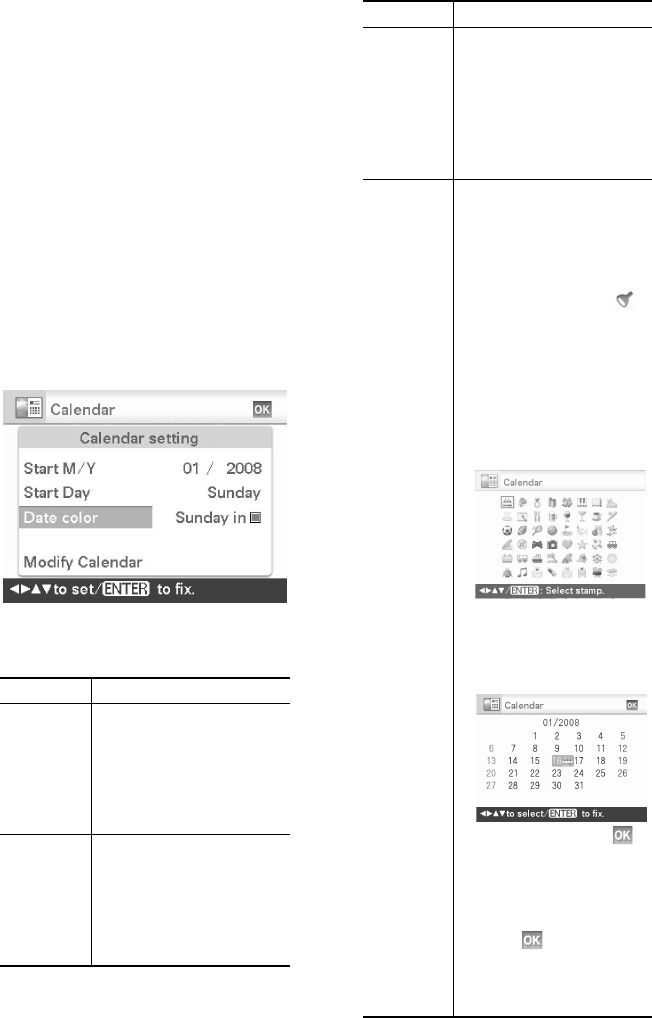
5 Set the calendar.
1Press g/G/f/F to select the calendar
area and press ENTER.
The calendar setting window is
displayed.
2Press f/F to select the item that you
want to set, and then press ENTER.
Item Settings/Procedures
Start Y/M Set the first month and the
year starting the calendar.
Press
g/G to select the
month or year and press
f/F to set the number.
Press ENTER.
Start Day Set the day of the week
(placed furthest left in the
calendar). Press f/F to
select “Sunday” or
“Monday.” Then press
ENTER.
Date color Set the color of Sunday and
Saturday to be displayed in
the calendar. Press G and
then f/F to select the
desired color for Sunday
and Saturday. Then press
ENTER.
Modify
Calendar
You can add a stamp or
desired color to a specific
day in the calendar.
When adding a stamp
(Example)
1Press g/G to select
(Stamp), and press
ENTER.
The stamp selection
window is displayed.
2Press g/G/f/F to select
a desired stamp, and
press ENTER.
The calendar is displayed.
3
Press
g
/
G
/
f
/
F
to select a
desired date for adding a
stamp and press
ENTER
.
4Press f/F to select
and press ENTER.
To exit Modify Calendar
and return to the Calendar
setting window, press g/G
to select and press
ENTER. You can set “Date
color” in the similar
procedures.
Item Settings/Procedures


