18
GB
Notes
• When opening the disc tray, suspend it with your hand.
• When closing the CD-R/RW tray, make sure to seat the disc firmly over the
CD-R/RW tray hub. If not, you could damage your CD-R/RW drive and you
may not be able to open the tray.
4 Close the disc tray firmly until it clicks into place.
To take out the disc
1 Press the CD-R/RW disc tray open/close button.
The CD-R/RW disc tray comes out.
Note
While the CD-RW indicator lights or blinks, the CD-R/RW is being accessed. You
cannot eject the CD-R/RW disc. Wait until the indicator turns off and then press
the CD-R/RW disc tray open/close button.
2 Remove the CD-R/RW disc from the tray.
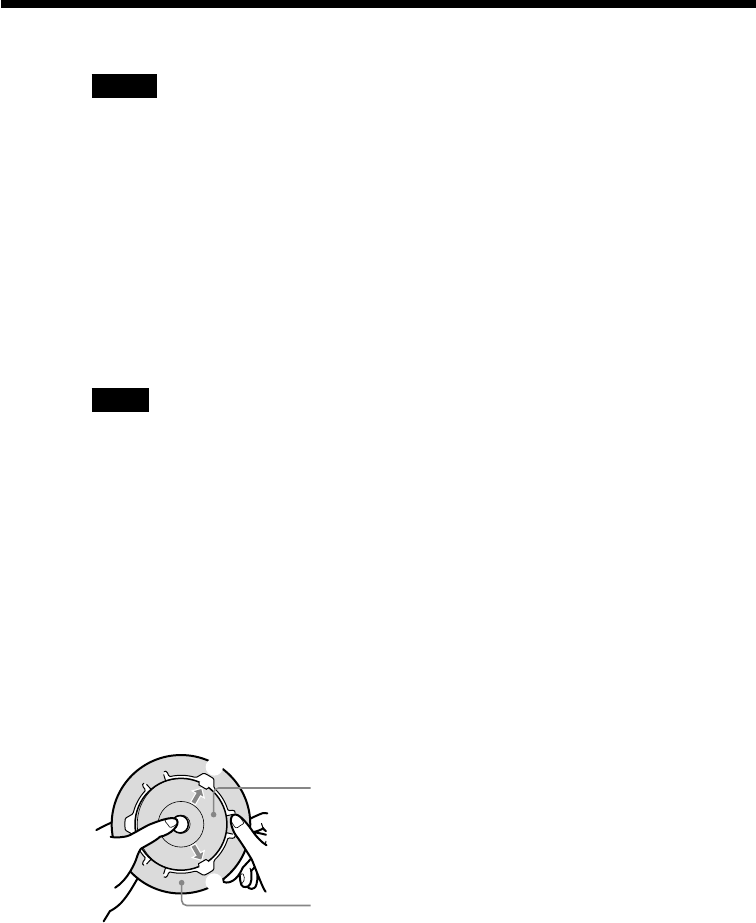
To use an 8cm CD-R/RW disc of your CD Mavica digital camera
When you use an 8cm CD-R/RW disc of your CD Mavica digital camera with
this printer, we recommend you use the 8cm CD adaptor supplied with your
CD Mavica.
1 Insert an 8cm CD-R/RW disc into the two tabs of the adaptor in
the order of 1 and 2.
Label side (Rear side is for recording.)
Side with SONY printing (Rear side is shiny.)
1 Connecting the printer
1
2


