


94
GB
Using your printer with Windows computers
2
Turn on the printer and then connect the printer and the
computer via their USB ports.
Note
Make sure to turn on your printer before connection.
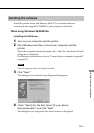
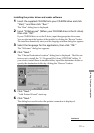
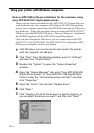
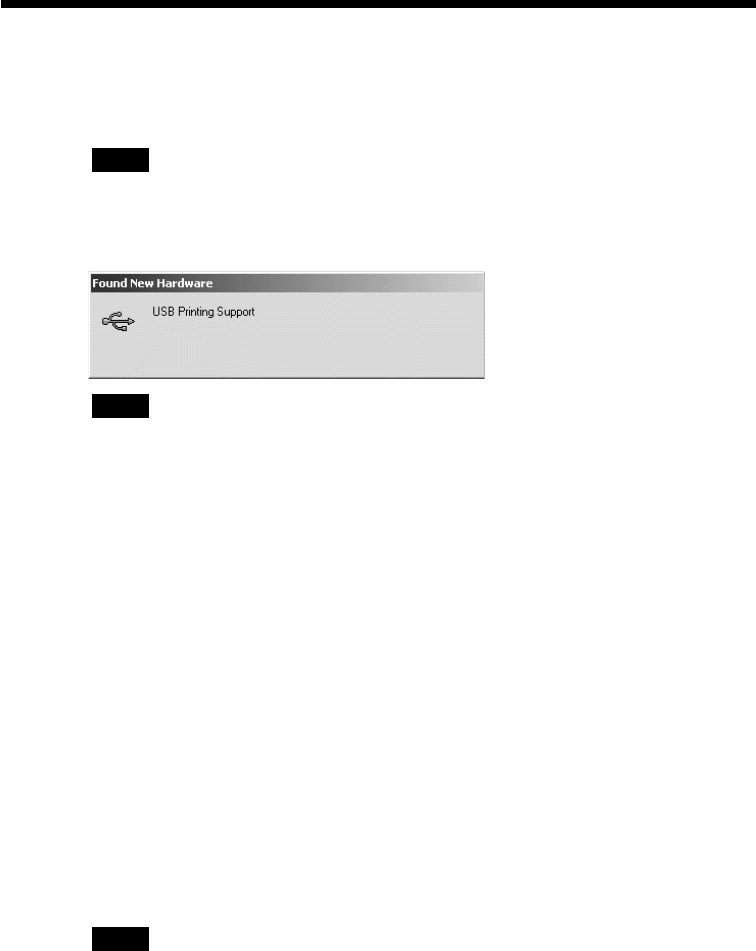
3
Wait for the USB driver to be installed automatically and for the
following dialog box to disappear.
Note
If the “Add New Hardware Wizard” dialog box is displayed instead of the
above window, follow the instructions on the screen to install the “USB
Printing Support.” When the dialog box asking where to search for the
driver files appears, uncheck all the options and click “Next.”
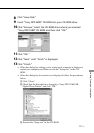
4
Insert the supplied CD-ROM into the CD-ROM drive of your
computer.
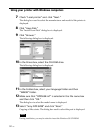
5
Double-click “Setup.exe” on the supplied CD-ROM.
The window used to select the driver language is displayed.
6
Select the language and click “OK.”
The “Welcome” dialog box appears.
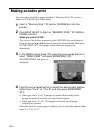
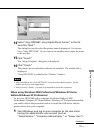
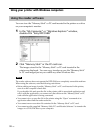
7 Click “Next.”
The dialog box used to choose the destination folder is displayed. The
files are factory-set to install to “C:\Program Files\Sony\DPPSV88”
folder. If you want to install them to another folder, specify the
destination folder by clicking the “Browse” button.
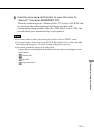
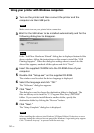
8 Click “Next.”
The “Setup Complete” dialog box is displayed.
Note
When installing the software into Windows XP Home Edition/Profession, an error
message stating the software has not passed the Windows Logo testing may appear.
Click “Continue Anyway” to proceed with the next step.