70
GB
Making various prints (Creative Print)
4
Set the calendar:
1 Set the first month and the year starting the calendar:
Press the arrow (v/V) button to select “Start month” and press the
arrow (B/b) to move the cursor to the year. To set the number, press
the arrow (v/V) button. In the same way, set the month. Then press
ENTER/PRINT QTY.
2 Set the day starting the week (placed furthest left in the calendar).
Press the arrow (v/V) button to select “Start date” and press the arrow
(B/b) button to move the cursor to “Sunday” or “Monday.”
Then press ENTER/PRINT QTY.
Some templates do not have the “Start date” setting.
3 Set the color of days.
Press the arrow (v/V) button to select “Color of Day” and press the
arrow (B/b) button to move the cursor to “Sunday in red” or “Sunday
in red/Saturdays in blue.” Then press ENTER/PRINT QTY.
5
Insert the “Memory Stick,” PC
card, or CD-R/RW disc into the
printer and press ENTER/PRINT
QTY.
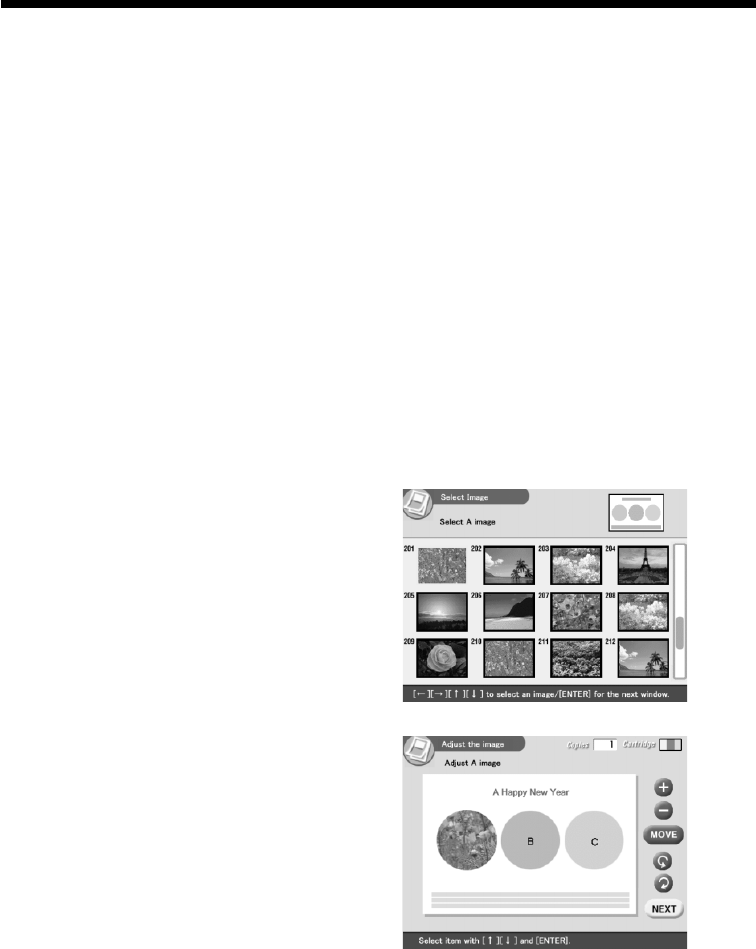
The thumbnail list for selecting an
image is displayed.
6
Press the arrow (B/b/v/V)
button to move the cursor to
the desired image, then press
ENTER/PRINT QTY.
The window to adjust the image
position is displayed.


