


CV503-8CH-19M
46
SVAT ELECTRONICS
now you can see
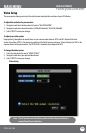
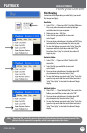
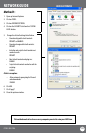
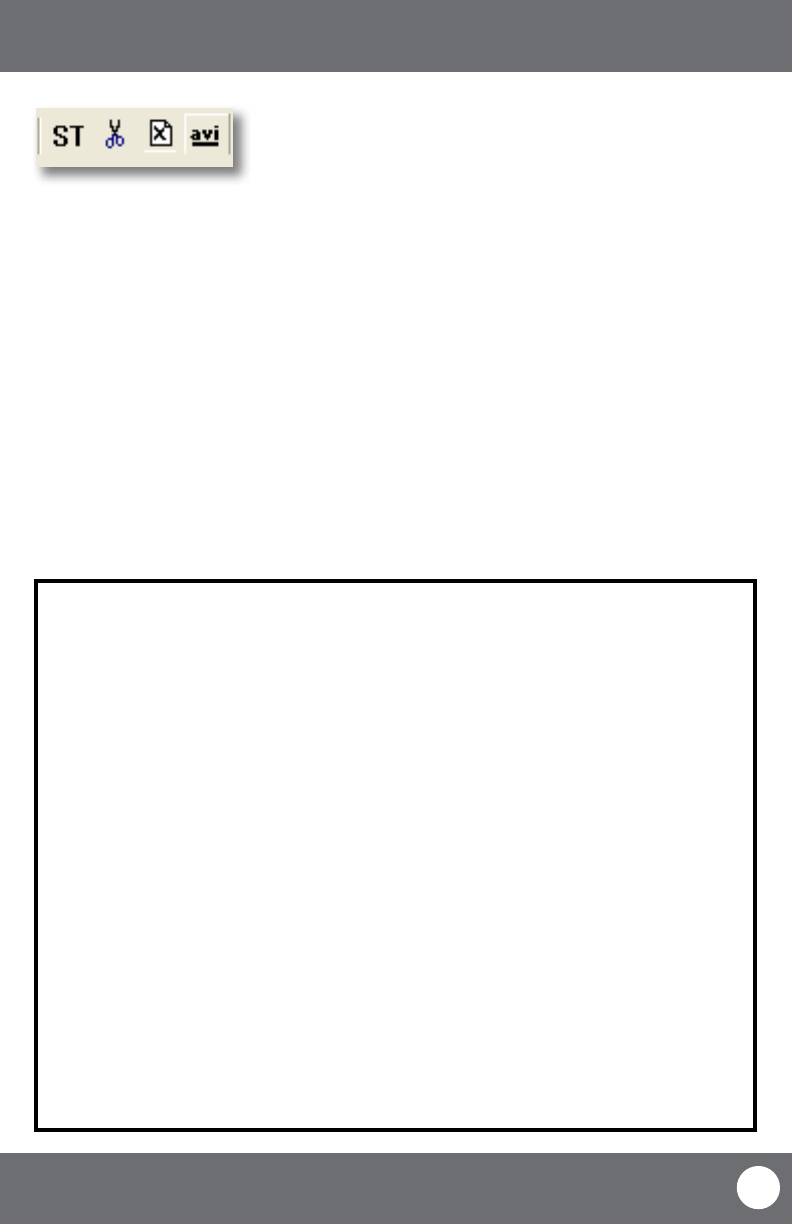
To save a section of video:
1. Move the cursor (on the green bar) to the section of footage you would like to save.
2. Select the ST icon. A blue bar will appear where you want the video to start saving as well as make the icons next
to the ST icon become usable.
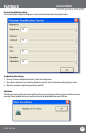
3. To cut footage and save it select the scissor icon next to ST and a time range screen should appear. Type in the
year, month, day and time you would like to start and stop saving the footage, then select “OK.” A Browse screen
will appear. Choose where you would like the footage to save and select “OK”. Once everything has saved properly
a screen will appear and notify you. To view the footage, use the le opening instructions with that saved footage.
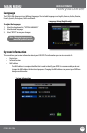
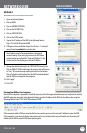
4. To delete footage from a le select the x icon next to the scissors and a time range screen should appear. Type
in the year, month, day and time you would like to start and stop the footage deletion, then select “OK”. Once
everything has saved properly a screen will appear and notify you.
5. To convert the .264 le to an .avi le select the avi icon next to the x and a time range screen should appear. Type
in the year, month, day and time you would like to start and stop the footage deletion, then select “OK”. A Browse
screen will appear. Choose where you would like the avi footage to save and select “OK”. Once everything has
saved properly a screen will appear and notify you. To view the footage, open it with an .avi compatible
video player.
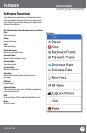
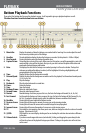
PLAYBACK
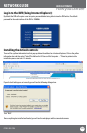
Setting Menu (FOR ADVANCED USERS ONLY)
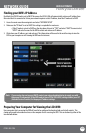
The settings menu allows you to change functioning of the software. Within this menu option you can
adjust the parameters, nd and play specic footage to play (if you have multiple type of footage playing),
select which audio channel will play, adjust the order of play channels, as well as adjust the video quality.
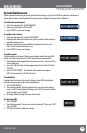
Parameter Settings:
Setting the parameters is for advanced users. It involves establishing parameters within the software. Unless
you are aware of how to adjust these parameters, it is best to leave them at the default levels.
Audio ltrate is for audio supported cameras (not included). It deals with audio in the footage being ltered
for outside noise; this device does not allow the ltration levels to be adjusted, so it is best to leave the
audio ltrate o.
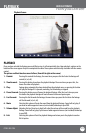
Video Play Settings:
This DVR does not support multiple bars of video so adjusting this function will not make a dierence in
your footage.
Audio Channel Settings:
This DVR does not support multiple bars of audio (only one audio channel) so adjusting this function will not
make a dierence in your footage.
Video channel Split Setting:
This DVR does not support video channel splitting, so adjusting this function will not make a dierence in
your footage.