SETTING UP THE VIPER™ LS6
The Setup Menu
The setup menu is used to modify the default printer settings. The setup
menu should be accessed from the home screen. To access the setup menu
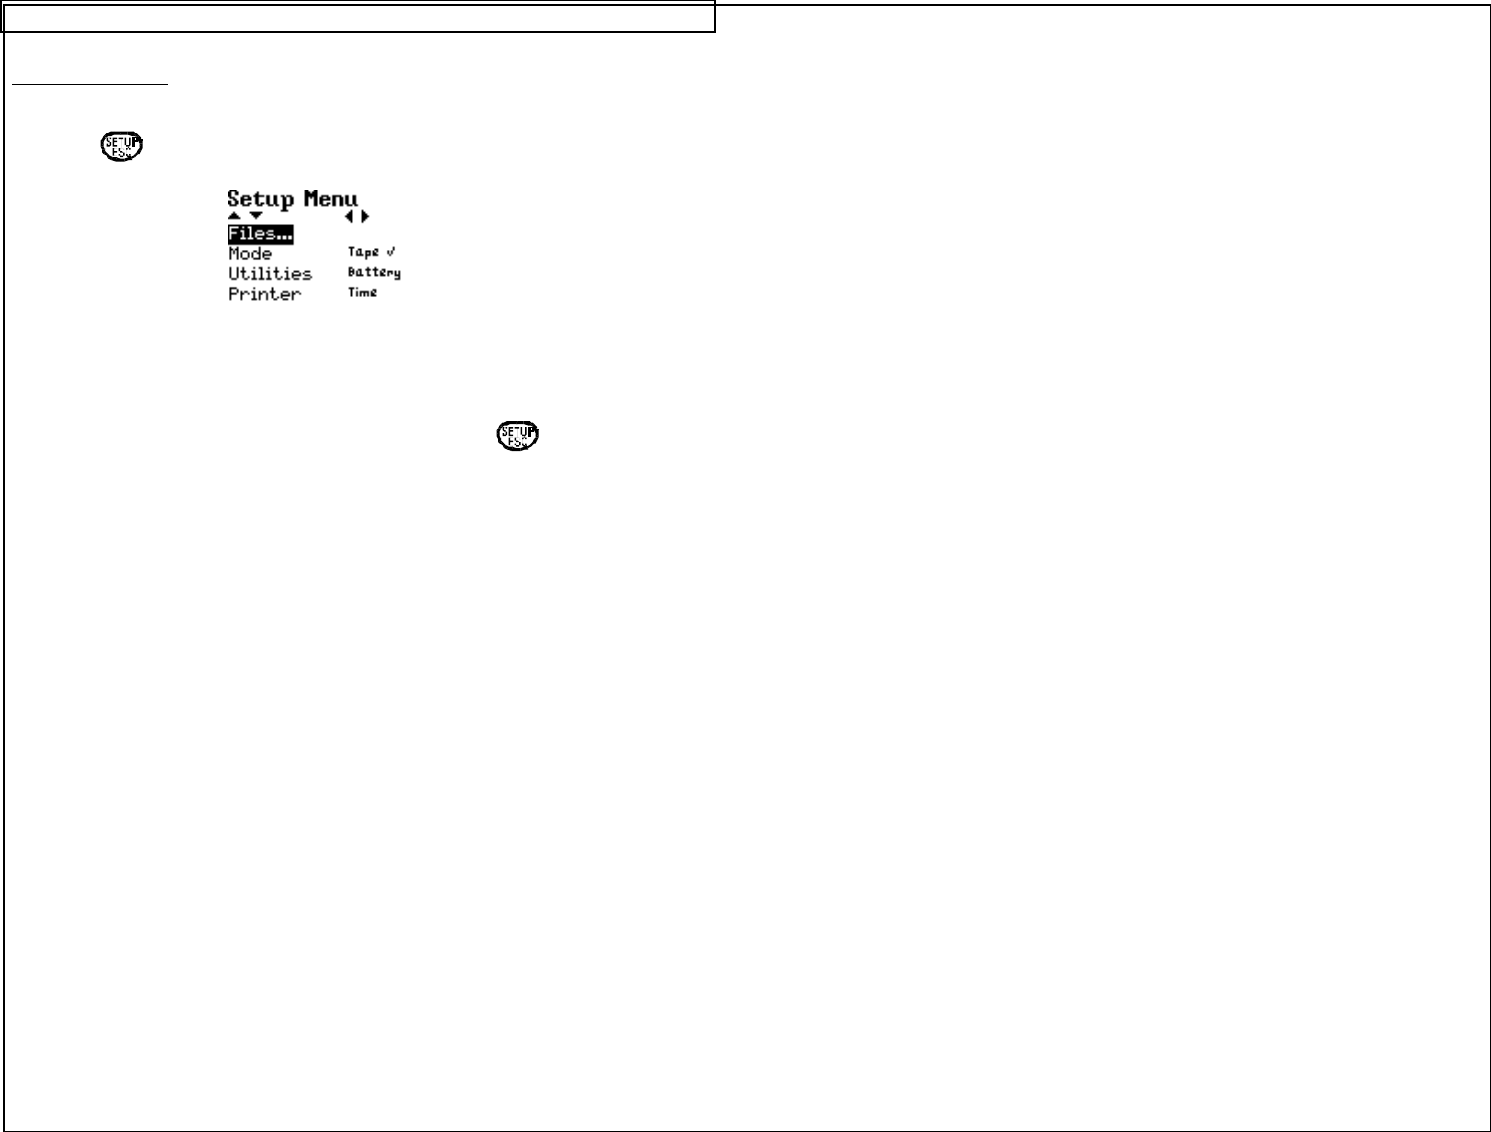
press the key. The setup menu will appear:
The available categories in the setup menu are Files, Mode, Utilities, and
Printer. Use the up or down directional arrow keys to highlight these options.
Use the right directional arrow keys to select the settings for each option.
After making all changes to the setup menu, press the key to accept all
of the changes and to return to the home screen.
1. The Files category accesses saved label files. Use the up or down
directional arrows to highlight Files, then use the right directional arrow
to enter File Manager. For more information about File Manager refer
to the section entitled “USING FILE MANAGER” on page 48.
2. The Mode category includes all of the predefined label formats available
in the VIPER™ LS6. These formats are Component, Wiremarker,
Terminal, Tape, Strip, and Network. See Editing Label Mode on page
45.
3. The Utilities category includes the VIPER™ LS6 utility functions. These
functions are Battery, ViperLink mode, and Remote Printer mode. See
Using Printer Utilities on page 45.
4. The Printer category includes VIPER™ LS6 printer settings. The settings
include Time, Date, Contrast, Heat, Label Feed, Languages, Units,
and Bar Code. See Adjusting Printer Settings on page 46.
