Setting System Options LukWerks User Guide
27
Recording Options
The Setup > Recording tab allows you to manage the recording of live video from your cameras to your PC hard
drive. It allows you to manage motion detection, schedule recording times, and manage disk usage.
Learn About Motion Detection
By default, each camera automatically records video anytime it detects any motion. Recording only motion has
the advantage of saving disk space. Luk Cameras also allow you to change from “entire image” motion
detection, to individually defined zones. These smart cameras have the capability of detecting motion in up to
16 regions – which we call motion zones. This is useful if you want to eliminate detection along the road and
limit it to the parking lot only. Motion detection works by comparing the difference between consecutive frames
of video and calculating if any objects moved.
Each time the camera detects motion it alerts the Werks software and records the event and a few prior
frames. Once motion is detected, the system records uninterrupted until 5-seconds after the motions stops.
This could be seconds, minutes, or even hours of compressed video.
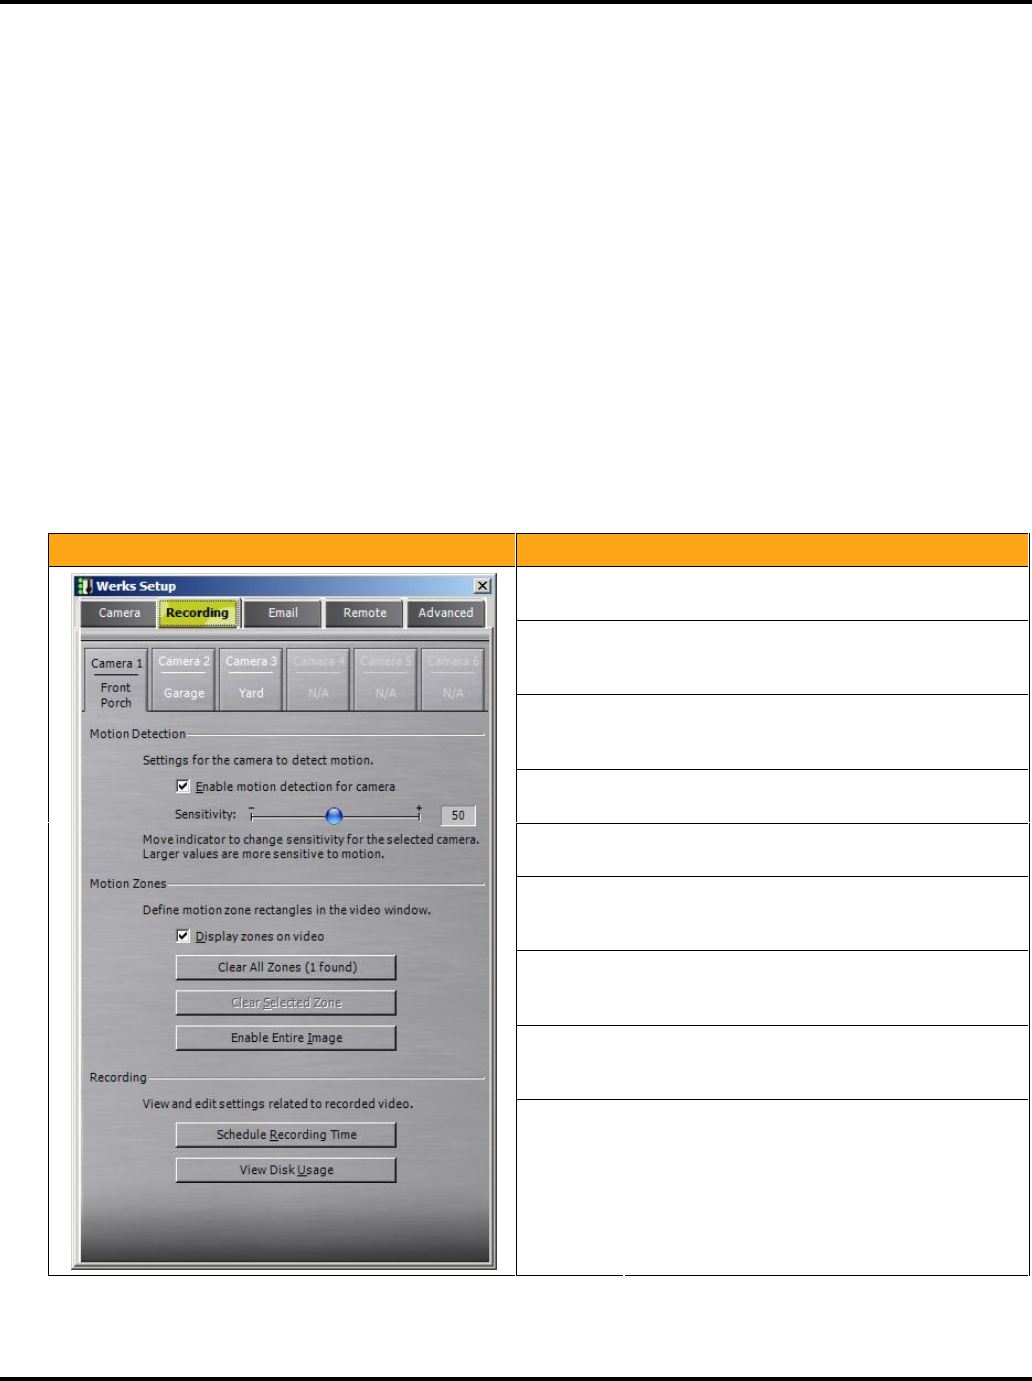
Review the Recording Dialog
From the main Werks screen click the SETUP button and choose the Recording tab to modify your recording
and disk usage settings:
Dialog Item Usage
Camera
Buttons
Click the camera button 1-6 to select the camera
you wish to adjust.
Enable
Motion
Detection
Check (default) to enable motion detection.
Uncheck to only record on scheduled times and
dates.
Detection
Sensitivity
Slide the bubble toward the [–] to reduce or
toward the [+] to increase the motion sensitivity
for the selected camera.
Display of
Zones
Check to see zones on the live view of each
camera during motion detection.
Clear All
Zones
Click button to delete all motion detection zones
for the selected camera.
Clear
Selected
Zone
After clicking within one of the detection zone,
click this button to delete the chosen zone. You
can also simply press the Delete key.
Enable
Entire
Image
Click to set the entire image as one complete
zone. (Default)
Schedule
Recording
Time
Click button to schedule recording times or times
cameras are to be disabled.
View Disk
Usage
Click button to review current disk usage or to
change the video storage location.


