2-20 Setup Rev. D
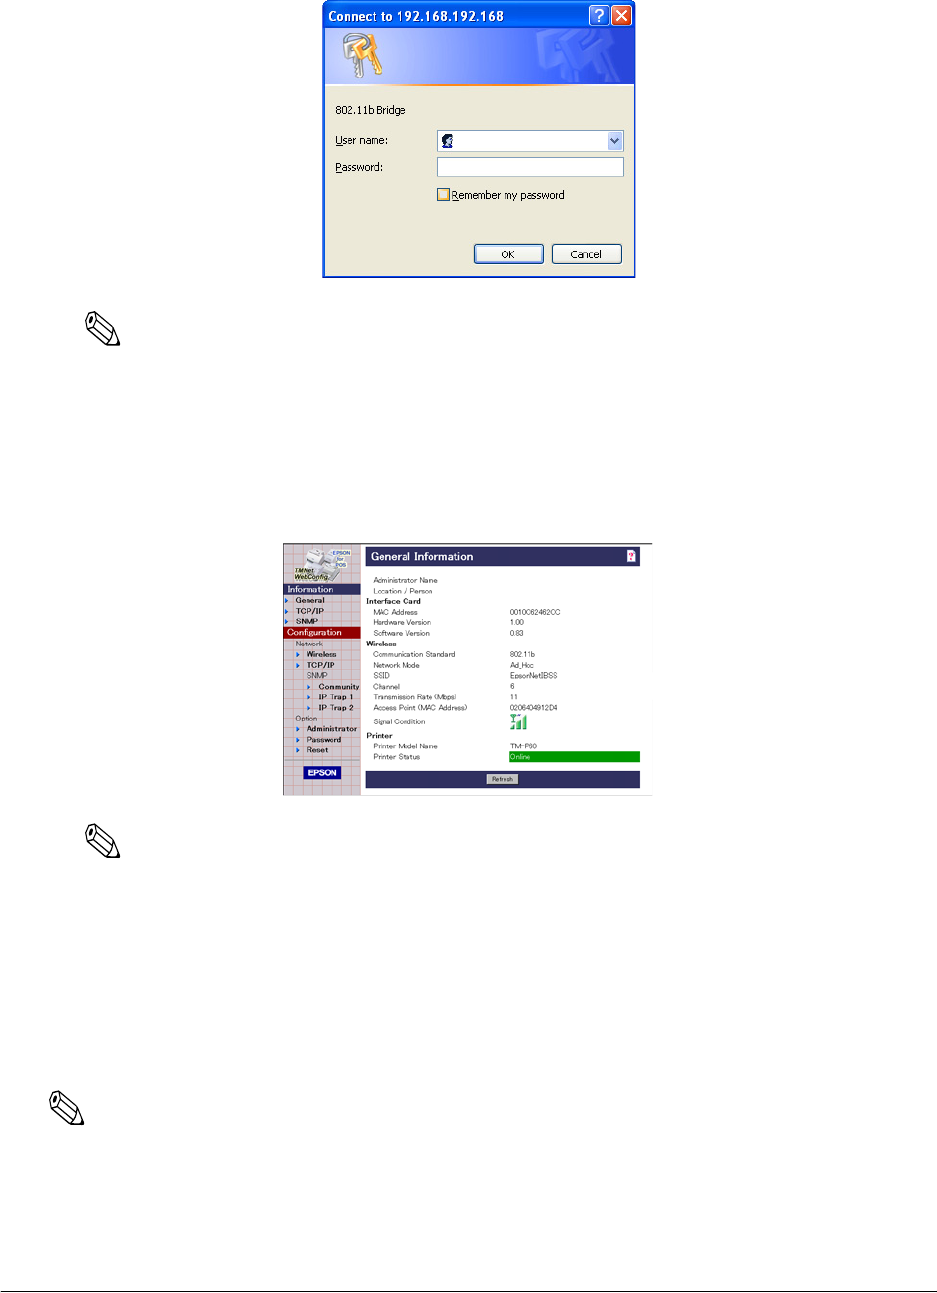
3. The browser displays a dialog box requesting a user name and password. Click OK without
entering any user name or password.
Note:
If the dialog box doesn’t appear, confirm the IP address (printer and host PC) and host PC’s subnet
mask.
This printer doesn’t have any password at shipped. When you registered a password into the printer,
you have to enter it on the dialog box. For setting password, see “ Password” (page B-41).
4. When following screen is shown, the confirmation is complete.
Note:
If the screen doesn’t appear, see “Q 6. The TM-P60 can’t connect to the Wireless LAN. What should I
do?” (page E-2).
2.6.6 Adjusting the printer LAN setting for your wireless LAN
2.6.6.1 When you use the utility (TMNetWinConfig) to set up
In this step, change the LAN setting of printer to the setting of the wireless LAN installed in the
printer from the trial host PC.
Note:
To enter the printer into your wireless LAN, you have to setup the following items at least. If you setup
other items, you have to setup also these items.
