Appendix A: Using the Preferences Menu 110 Naming Your Camera
To change the Image Counter setting:
Note: Once you have changed the Image
Counter setting, you must power the
camera off and then on again for the new
setting to take effect.
1 Press the down or up arrow on the 4-way controller, if needed, to highlight the Image Counter
setting you want.
2 Press the left (Select) soft key. The checkmark moves to the highlighted setting, and you return
to the Preferences menu.
3 Power the camera off and then on again for the new setting to take effect.
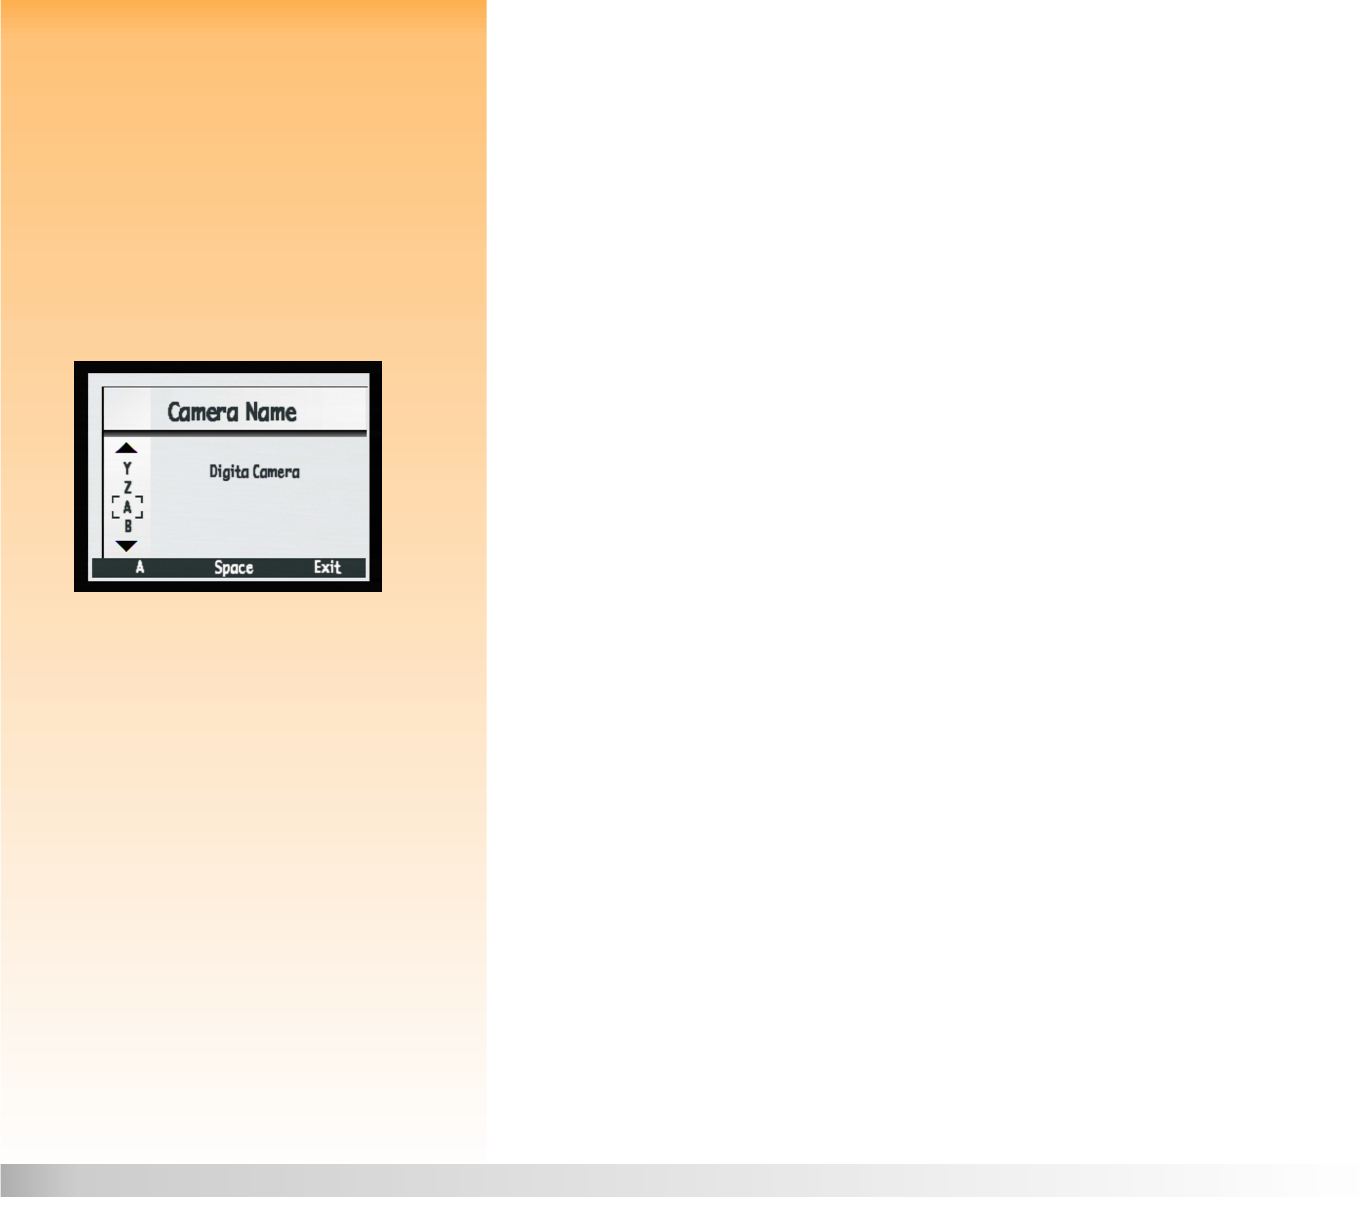
Figure 89: Camera Name Submenu
Naming Your Camera
Use the Camera Name submenu to enter a unique name for your camera. The camera name is used
to identify images in the Review mode when you have transmitted images from one camera to
another. (See “Transmitting Images Between Two Cameras” on page 56 for more information.) The
default camera name is Digita Camera.
For example, if you transmit images from camera B to camera A, camera B’s name appears in the
image information area of the Review mode screen on camera A when any images from camera B
are viewed on camera A. The camera name does not appear in the image information area when you
view images in Review mode on the camera you used to capture them.
Note: If a group name is applied to an image,
then the group name, rather than the camera
name, appears in the image information area of
the Review Mode screen.
To name your camera:
1 Press the left arrow on the 4-way controller to delete the letters of the default camera name.
2 Press the left (Character Set Icon) soft key to toggle through the four character sets (capital let-
ters, lowercase letters, numbers, or symbols) until you see the character set you want to use
displayed in the left soft key label area on the overlay bar.
3 Press the:
Up or down arrow on the 4-way controller to scroll through the list of characters on the left
side of the screen.
Right arrow on the 4-way controller to enter the selected character and advance the
insertion point in the center of the screen.
Left arrow on the 4-way controller to back up and delete a character.
Middle (Space) soft key to create a space between words in the camera name.
Note: Words wrap to the next line when they
get too long.
4 Press the right (Exit) soft key to save the camera name you set and return to the
Preferences menu.


