


Chapter 5: Sharing Images 55 JetSending Images to a Printer
Using the Transmit Menu to JetSend the Current or All Marked Images
To JetSend the current image or all marked images to a JetSend-capable printer:
1 Set the camera mode dial to Review mode .
2 Power on the camera if you haven’t already.
3 Either select one image or mark multiple images in the Review mode screen that you want to
JetSend. (See “Selecting Images” on page 38 and “Marking and Unmarking Images” on page 39
for more information.)
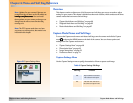
4 Press the MENU button on the back of the camera. The Review mode menus are displayed.
5 Press the right arrow on the 4-way controller two times to move to the Transmit menu.
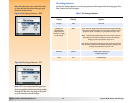
6 Press the down arrow on the 4-way controller to highlight the Camera-Printer menu option.
7 Set your printer to receive images to print. See your printer’s documentation for details.
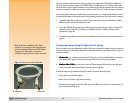
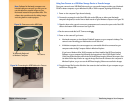
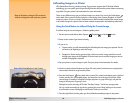
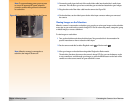
8 Aim the camera’s infrared window (see Figure 35 on page 54) at the printer’s infrared sensor, and
place the camera about 10 inches away from the printer.
9 Press the left (Send) soft key on the camera. The camera immediately starts a JetSend session,
searches for a compatible printer, and sends the current or all marked images to the printer.
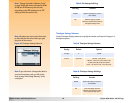
During the transfer, the image LCD reads: “Sending X image(s)...” and shows a progress bar.
You can cancel the transfer at any time by pressing the middle (Stop) soft key on the camera.
A confirmation screen will display to show that the Send was successful.
10Press the right (Done) soft key when you have finished transmitting images to the printer.