Chapter 2: Preparing to Take Pictures 8 Accessing the Capture Mode and Powering on the Camera
Chapter 2: Preparing to Take Pictures
Overview
You can use your camera’s default settings to take pictures in a point-and-shoot fashion, or
you can use more advanced features that you set via the camera’s status LCD and image LCD. This
chapter explains how to prepare your camera to take pictures by adjusting various settings on it.
This chapter covers the following topics:
“Accessing the Capture Mode and Powering on the Camera” on page 8
“Setting the Exposure Mode” on page 9
“Using the Status LCD” on page 12
“Using the Status LCD Buttons” on page 13
“Understanding the Exposure Bar Graph” on page 16
“Using the Auto Exposure Lock (AE-L) Button” on page 16
“Using the Sub-Dial” on page 17
“Using Flash” on page 18
“Using the Image LCD” on page 19
“Understanding the Text Message Area” on page 19
“Viewing the Camera Status” on page 21
“Using the Overlay Soft Key” on page 20
“Setting Auto/Manual Focus” on page 20
“Using the Capture Mode Menus” on page 22
“Using the 4-Way Controller” on page 22
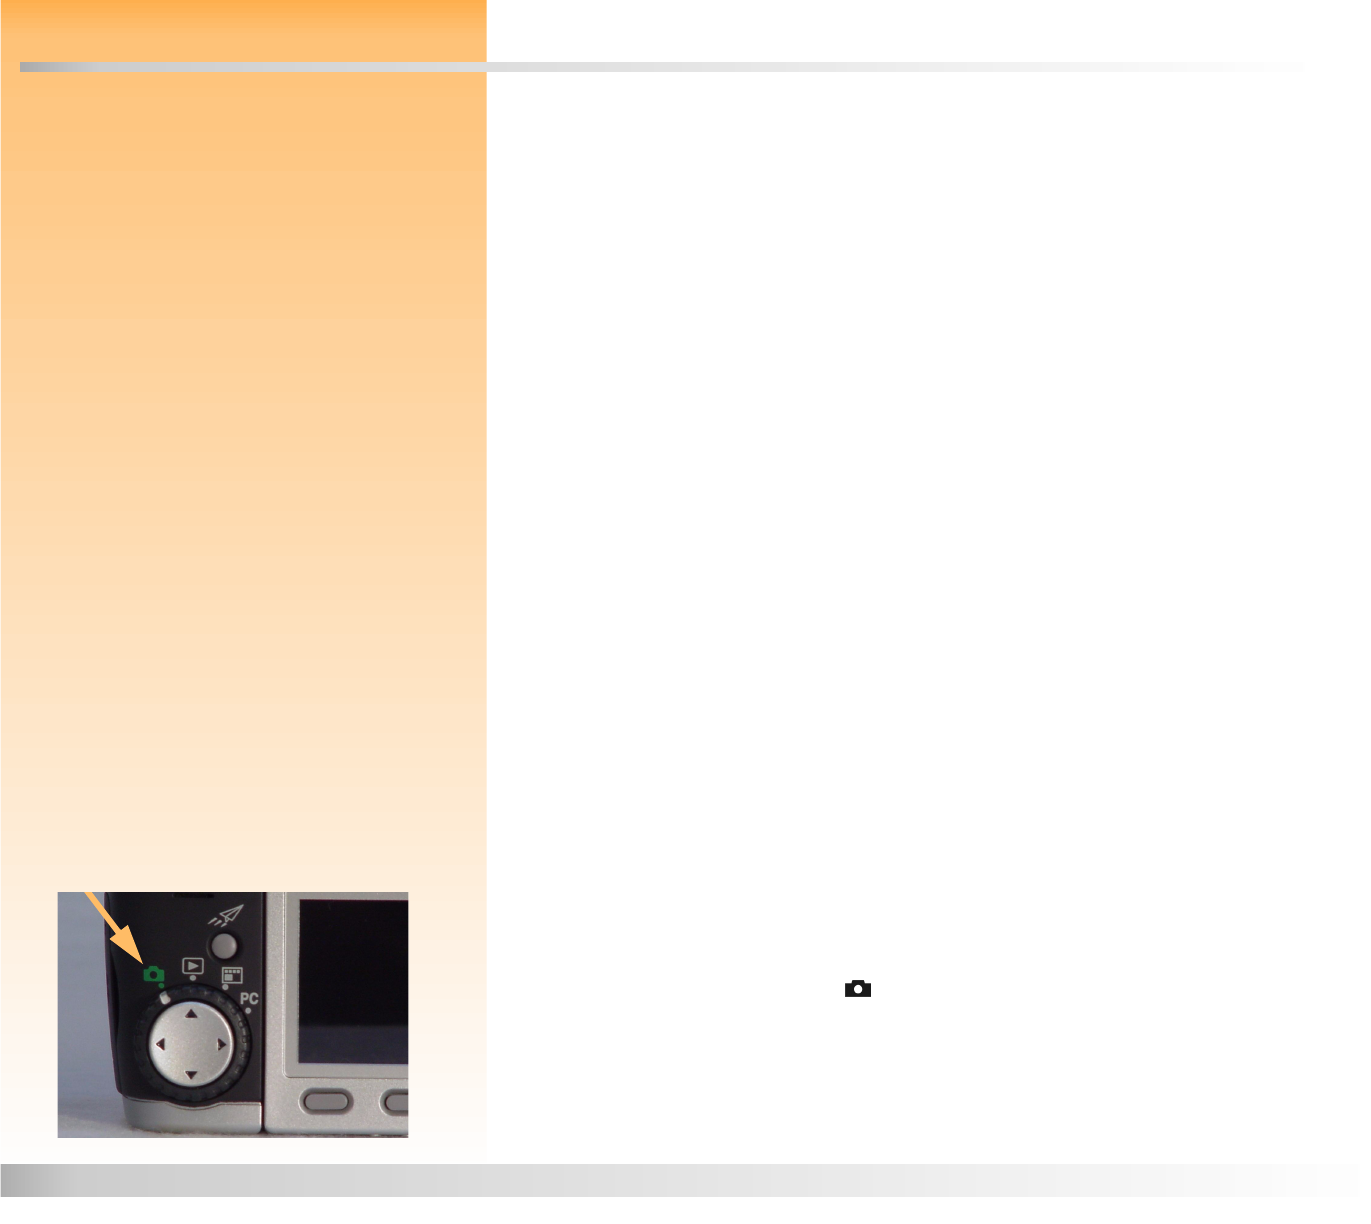
Figure 1: Setting the Camera to Capture Mode
Accessing the Capture Mode and Powering on the Camera
To prepare your camera to take pictures, you must first set your camera to Capture mode and power
on the camera:
1 Turn the camera mode dial to (see Figure 1).
2 Power on the camera by sliding the ON/OFF power switch on the top of the camera to the
right and releasing it. The status LCD on the top of the camera turns on and displays the status
of the camera.


