


Shooting
25
Basic shooting operations (P2 card)
AUTO MANUAL
2
3
1
CAMERA
MCR VCR
DUBPC
ON
LCD side
Mode button
Mode lamp
REC CHECK
button
Handle START/STOP
button
Lock
release
P2
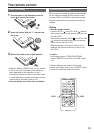
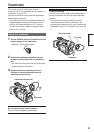
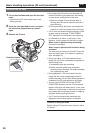
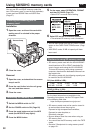
Shooting in auto mode
1 Turn the POWER switch to ON. (Page 20)
• Check that the mode lamp (CAMERA) is
lighted red. If not, press the mode button.
2 Switch the AUTO/MANUAL switch to AUTO
to select auto mode.
• “A” appears on the viewfinder and LCD
screens.
• The focus, gain, iris and white balance are
adjusted automatically.
3 Press the START/STOP button (Red) on the
POWER switch to start shooting.
• Press again to return to the camera to the
shooting standby mode.
• Use the handle START/STOP button to make
it easier to shoot from low angles.
Under the following circumstances, even if you
press the STOP button it may take some time until
the writing to the P2 card finishes. For this reason,
the operation will not be acknowledged if you press
the START button too soon.
• Stopped after only a short recording time
• Stopped immediately after the recording has
moved to a second P2 card
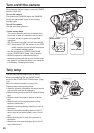
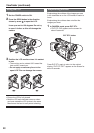
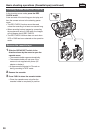
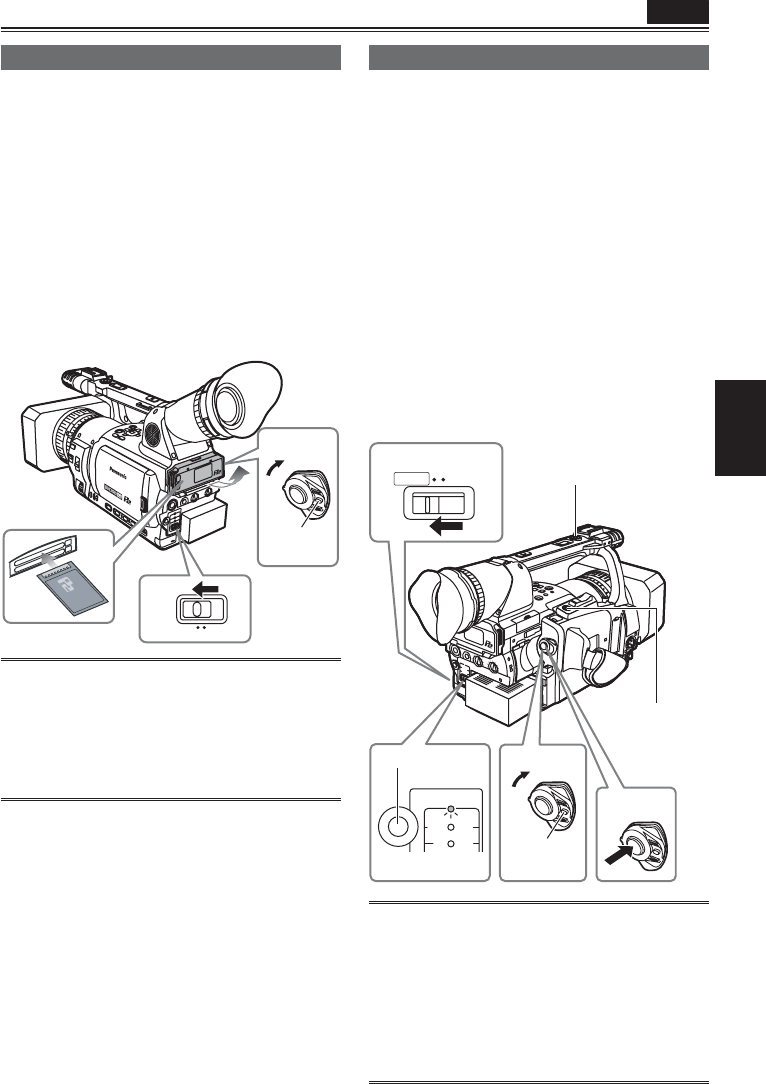
Preparing to shoot using a P2 card
1 Switch the MEDIA switch to “P2”.
2 Set the POWER switch to ON. (Page 20)
3 Lift up the viewfinder and open the card slot
cover.
4 Insert the P2 card securely in the card slot.
• There are two card slots.
• Be absolutely sure to close the card slot
covers to keep the dust out.
• Do not remove the P2 card while the P2 card
access lamps are blinking orange. (Page 26)
3
4
1
P2 TAPE
ON
2
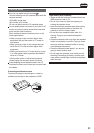
Do not operate the MEDIA switch when the power
is switched ON.
If you attempt to operate the MEDIA switch, the
message “TURN POWER OFF” will be displayed.
In this case, switch OFF the power, and then switch
it ON again.
Lock
release