


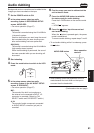
Editing
81
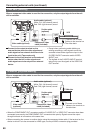
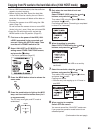
6 Find the scene you want to add and set the
unit to the still mode.
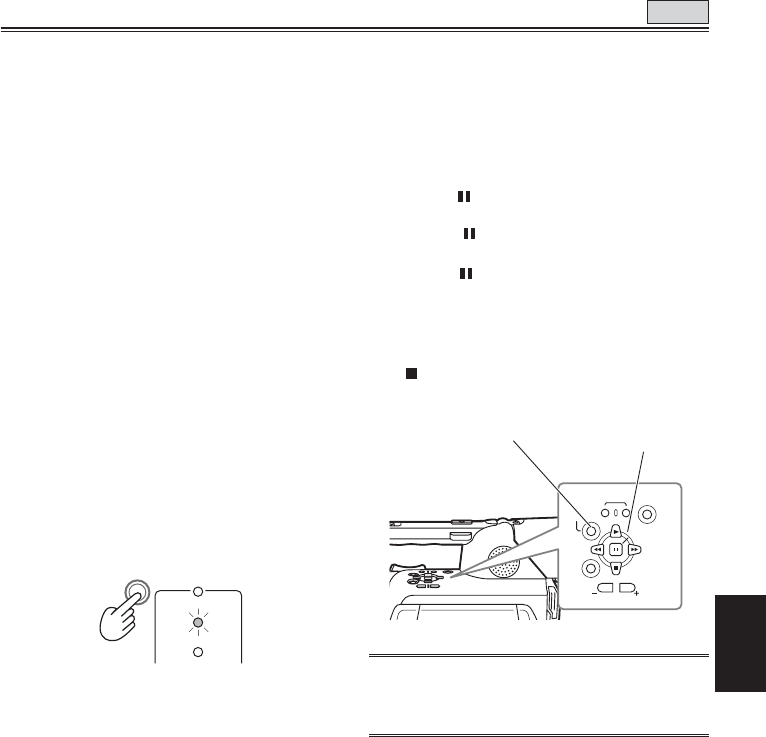
7 Press the AUDIO DUB button to establish
the status ready for audio dubbing.
Press the A. DUB button on the remote control
unit.
• “A.DUB
” appears.
8 Press the button, input the sound and
start audio dubbing.
When the
button is pressed again, the pause
mode is established.
To resume audio dubbing, repeat steps 7 and 8.
• To end audio dubbing while it is underway, press
the
button.
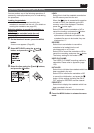
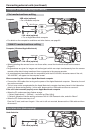
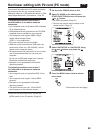
REC
SET
MENU
END SEARCH
PAG E/
AUDIO MON/VAR
AUDIO
DUB/
THUMBNAIL
• Audio dubbing cannot be performed in the LP
mode because the track width on the tape is
narrower than the head width.
Audio dubbing
Background music or narration can be added to the
images you have recorded on the tape.
1 Set the POWER switch to ON.
2 In the setup menus, select an audio
recording system in RECORDING SETUP
screen, AUDIO REC.
• For menu operation (Page 97)
32K(12bit):
The sound is recorded using the 12-bit/32kHz
(4-channel) system.
Use this mode when you want keep the sound
that recorded while you were shooting even
after audio dubbing has been performed.
48K(16bit):
The sound is recorded using the 16-bit/48kHz
(high-quality stereo) system.
When audio dubbing is performed, the sound
that was recorded while you are shooting will
be erased.
3 Start shooting.
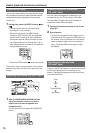
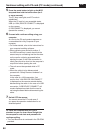
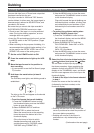
4 Press the mode button to switch to the VCR
mode.
VCR
DUB
MCR
PC
CAMERA
5 In the setup menus, select an audio
recording system in the AV IN/OUT SETUP
screen, A. DUB INPUT.
• For menu operation (Page 97)
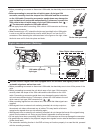
MIC:
The sound of the built-in microphone or
the external unit connected to INPUT 1/2
connector is recorded. (Select by CH1
SELECT switch and CH2 SELECT switch.)
A_IN:
The sound of audio component connected
to AUDIO IN/OUT connector (pin jack) is
recorded.
TAPE
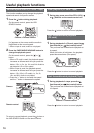
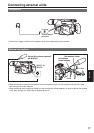
AUDIO DUB button
Menu operation
controls
(Continued on the next page)