160
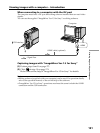
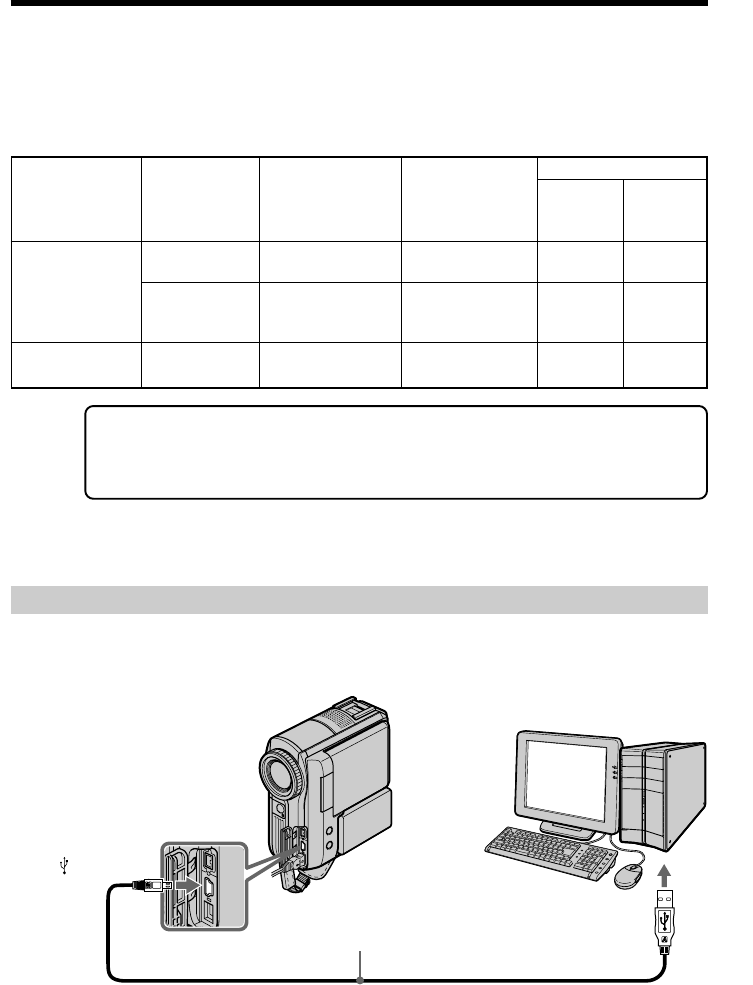
USB port
(USB) jack
USB cable (supplied)
Push into the end.
Computer
— Viewing Images with your Computer —
Viewing images with a computer
– Introduction
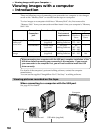
There are following ways of connecting your camcorder to a computer to view images
saved on the “Memory Stick” or recorded on the tape on a computer.
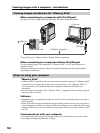
To view images on a computer which has a “Memory Stick” slot, first remove the
“Memory Stick” from your camcorder and then insert it into your computer’s “Memory
Stick” slot.
Tape image/live
from your
camcorder
“Memory Stick”
image
Camcorder
Connection
jack
USB jack
DV Interface
USB jack
Connection cable
USB cable
(supplied)
i.LINK cable
(optional)
USB cable
(supplied)
Computer
Environment
requirements
USB port,
editing software
DV port,
editing software
USB port,
editing software
For
Windows
Users
163 – 172
173 – 180
161
187 – 188
189 – 190
163 – 172
181 – 183
For
Macintosh
Users
–
–
184 – 185
186
Reference pages
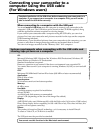
When connecting to a computer with the USB port, complete installation of the
USB driver before connecting your camcorder to the computer. If you connect
your camcorder to the computer first, you will not be able to install the USB
driver correctly.
For details of the computer’s ports and editing software, contact the computer
manufacturer.
You can use the supplied “ImageMixer Ver.1.5 for Sony” as editing software.
Viewing pictures recorded on the tape
When connecting to a computer with the USB port
See page 163 for details.


