172
Connecting your camcorder to a computer using the USB cable
(For Windows users)
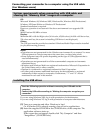
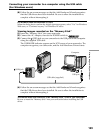
6 Set the POWER switch to OFF (CHG) on your camcorder, then disconnect the
USB cable.
7 Restart the computer.
Step 2: Install the USB driver on the supplied CD-ROM
Follow the entire procedure in “Installing the USB driver” on page 164.
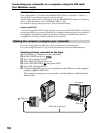
Viewing images recorded on the “Memory Stick”
Step 1: Uninstall the incorrect USB driver
1 Turn on the computer and allow Windows to load.
2 Insert the “Memory Stick” into your camcorder.
3 Connect the AC Adaptor and set the POWER switch to
.
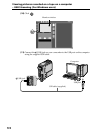
4 Connect the USB port on the computer to the
(USB) jack on your camcorder
using the USB cable supplied.
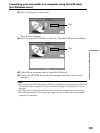
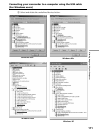
5 Open the computer’s “Device Manager.”
Windows XP:
Select “Start” t “Control Panel” t “System” t “Hardware” tab and click
the “Device Manager” button.
If there is no “System” inside “Pick a category” after clicking “Control Panel,”
click “Switch to classic view” instead.
Windows 2000:
Select “My Computer” t “Control Panel” t “System” t “Hardware,” and
click the “Device Manager” button.
Other OS:
Select “My Computer” t “Control Panel” t “System,” and click “Device
Manager.”
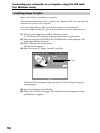
6 Select “Other devices.”
Select the device prefixed with the “?” mark and delete.
e.g., (?)Sony Handycam
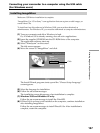
7 Set the POWER switch to OFF (CHG) on your camcorder, then disconnect the
USB cable.
8 Restart the computer.
Step 2: Install the USB driver on the supplied CD-ROM
Follow the entire procedure in “Installing the USB driver” on page 164.


