27CV501 - 16CH
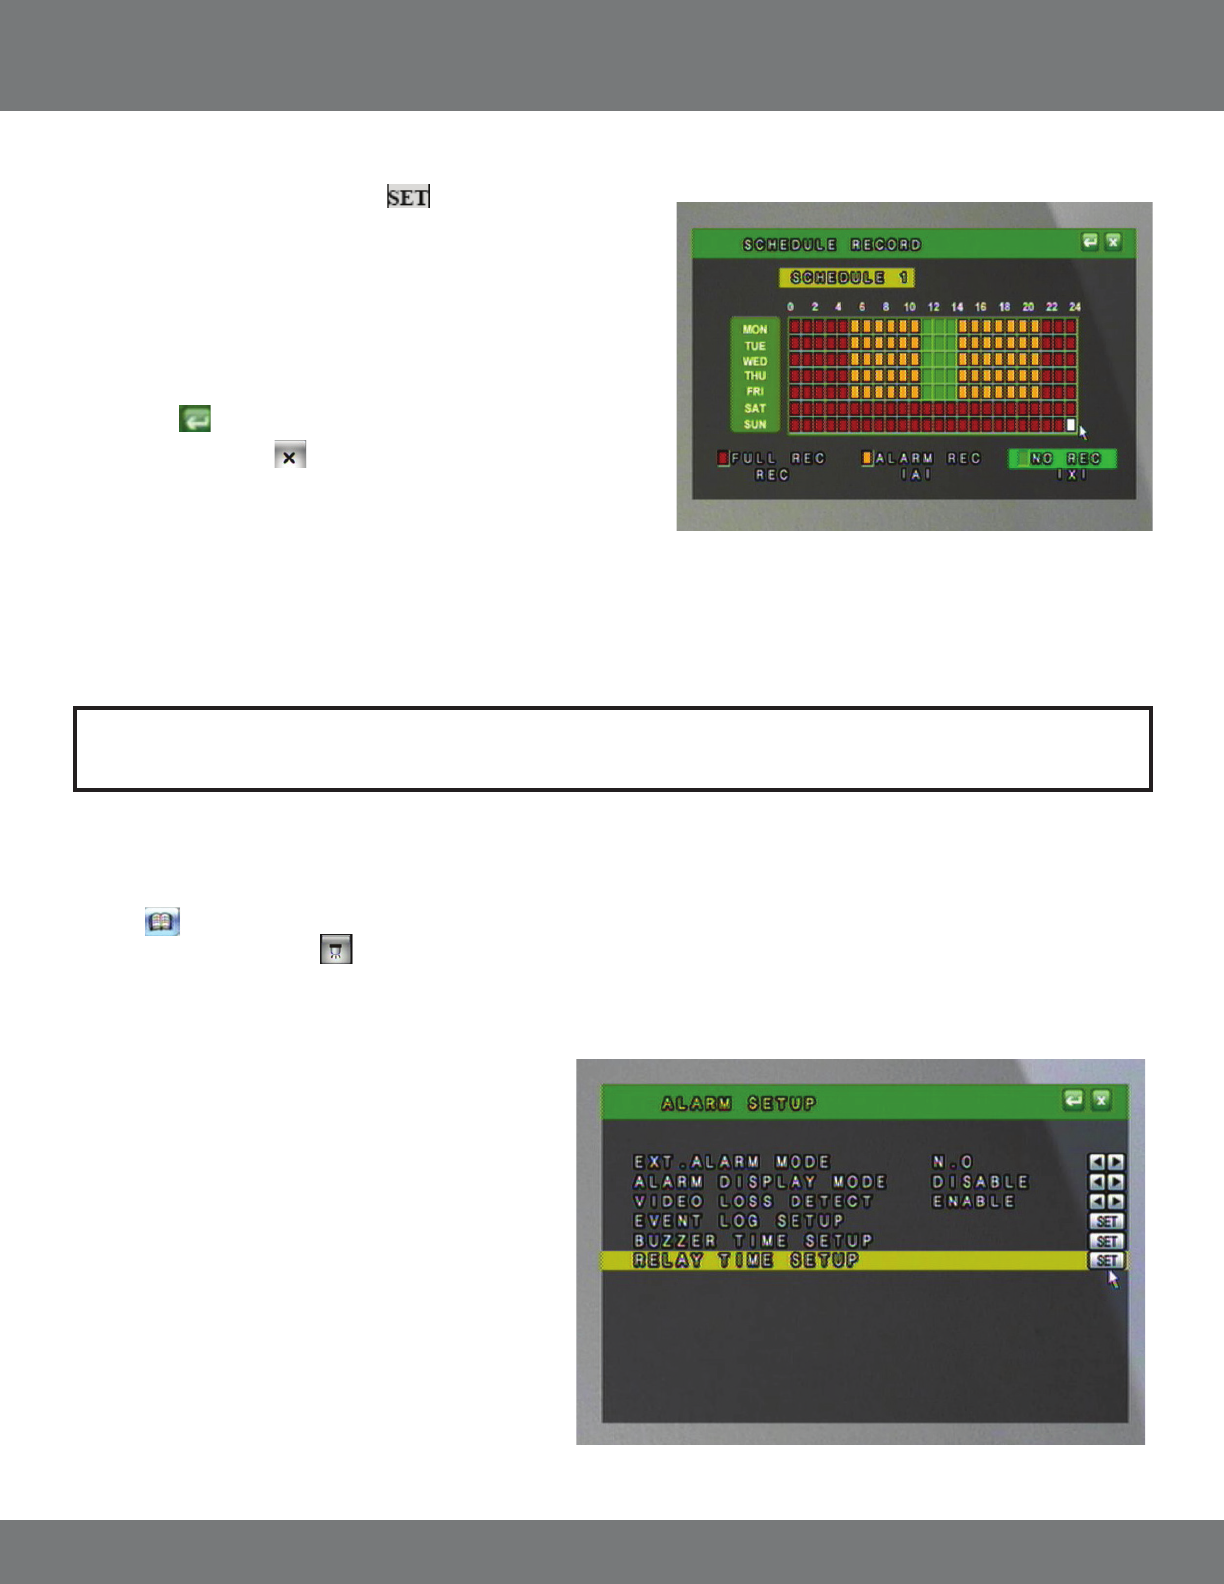
To set the schedules:
1. Highlight SCHEDULE SETUP and select to enter the schedule
record Menu.
2. Select the type of recording you wish to use (Full, Alarm, No) from the
bottom of the Menu screen or use the fast forward button to toggle
between the type of recording.
3. In the calendar display, press ENTER or click on the hour and day you wish
this method of recording to happen.
4. Select the
to save changes and return to the Record Setup Menu.
5. Press Menu or Click the to exit the Main Menu and save your settings.
The DVR may take a few moments to load the settings.
Note: To switch between schedules in this mode, scroll the wheel on the mouse, or press the CH1-CH4 button, Quad view buttons.
This is a sample schedule. This schedule may work well for a small
business, with dierent settings for weekday business hours, and with
more security over the weekend.
MAIN MENU...continued
ALARM SETUP
1. Access the Main Menu by pressing Menu or move the mouse to the bottom of the display screen to reveal pop up Menu bar and click the Menu
icon.
2. Select the ALARM setup icon.
There are several dierent types of events that will trigger the Alarm Recording.
1. External Alarm – If you have a 2 wire Normally Open (NO),
or Normally Closed (NC) device, it can be connected to the
DVR to record when the alarm is triggered. For example, the
external alarm can also be connected to a motion sensor, or
audio sensor.
2. Video Loss – The DVR will archive the day and time it
detects video loss. This means it will log the time and take
whenever a camera is disconnected or tampered with.
3. Motion Detection – The DVR will archive and store the
footage when motion is detected on any of the 8 cameras
when set up.
