33CV501 - 16CH
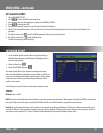
To Change from Static to DHCP Addresses:
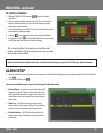
1. Under IP Mode, use the mouse wheel or directional keys to change from
DHCP to STATIC.
2. Press Menu or select the
to exit the Network Setup Menu or press
the Menu button.
3. Press Menu or select the
to exit the Main Menu and save your
settings.
The DVR may take a few moments to load the settings.
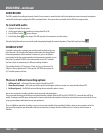
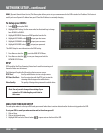
HTTP Port: Refers to the port that your DVR will use to communicate with your network and the Internet. This port is required to be entered at
the end of the IP address to connect to the DVR. (Ex. If using port 2000 and the IP address is 192.168.1.103 you would type
http://192.168.1.103:2000 in the address bar of Internet Explorer) If using port 80 your Internet browser will automatically add it
in at the end of the address, even though it may not be visible.
IPADDR: (IP ADDRESS). The numbers here represent the internal IP address of your DVR. If your DVR is not properly connected to the router,
the address will appear as 0.0.0.0. To nd you DVR’s IP address, make sure that it is connected to your router and reset the power on
the DVR. The internal IP address is the most important number on the Network Setup Menu screen.
Netmask: (Subnet Mask): The subnet mask is used for identifying the subnetwork the DVR is connected to. There is no need to adjust this
number for general network setup. Usually the netmask is 255.255.255.0.
Gateway: (Default Gateway): In computer networking, a default gateway is the device that passes trac from the local subnet to devices on
other subnets. There is no need to adjust this number for general network setup. Generally this is the IP address of your router.
DNS 1: (Domain Name System): For advanced network setup. DNS is used to convert common names into website IP Addresses.
DNS2: For advanced network setup. DNS is used to convert common names into website IP Addresses.
NETWORK SETUP...continued
PPPoE SETUP
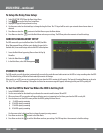
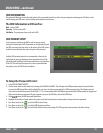
PPPoE stands for Point-to-Point Protocol over Ethernet. PPPoE is used by (A)
DSL Internet connections. Usually the modem or router will store the PPPoE
information so that the DVR and other computers that are connected to the
network do not require a password to access the Internet. If you use DSL, please
contact your ISP for your PPPoE information if required.
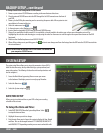
To Setup PPPoE Settings:
1. Change PPPoE setting to ENABLE.
2. Enter the Username provided by your ISP.
3. Enter the Password provided by your ISP.
4. Press ENTER on State to update the status.
If properly connected, the State will display your connection status as
being connected.


