75CV501 - 16CH
CAMERA MANUAL
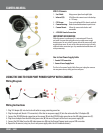
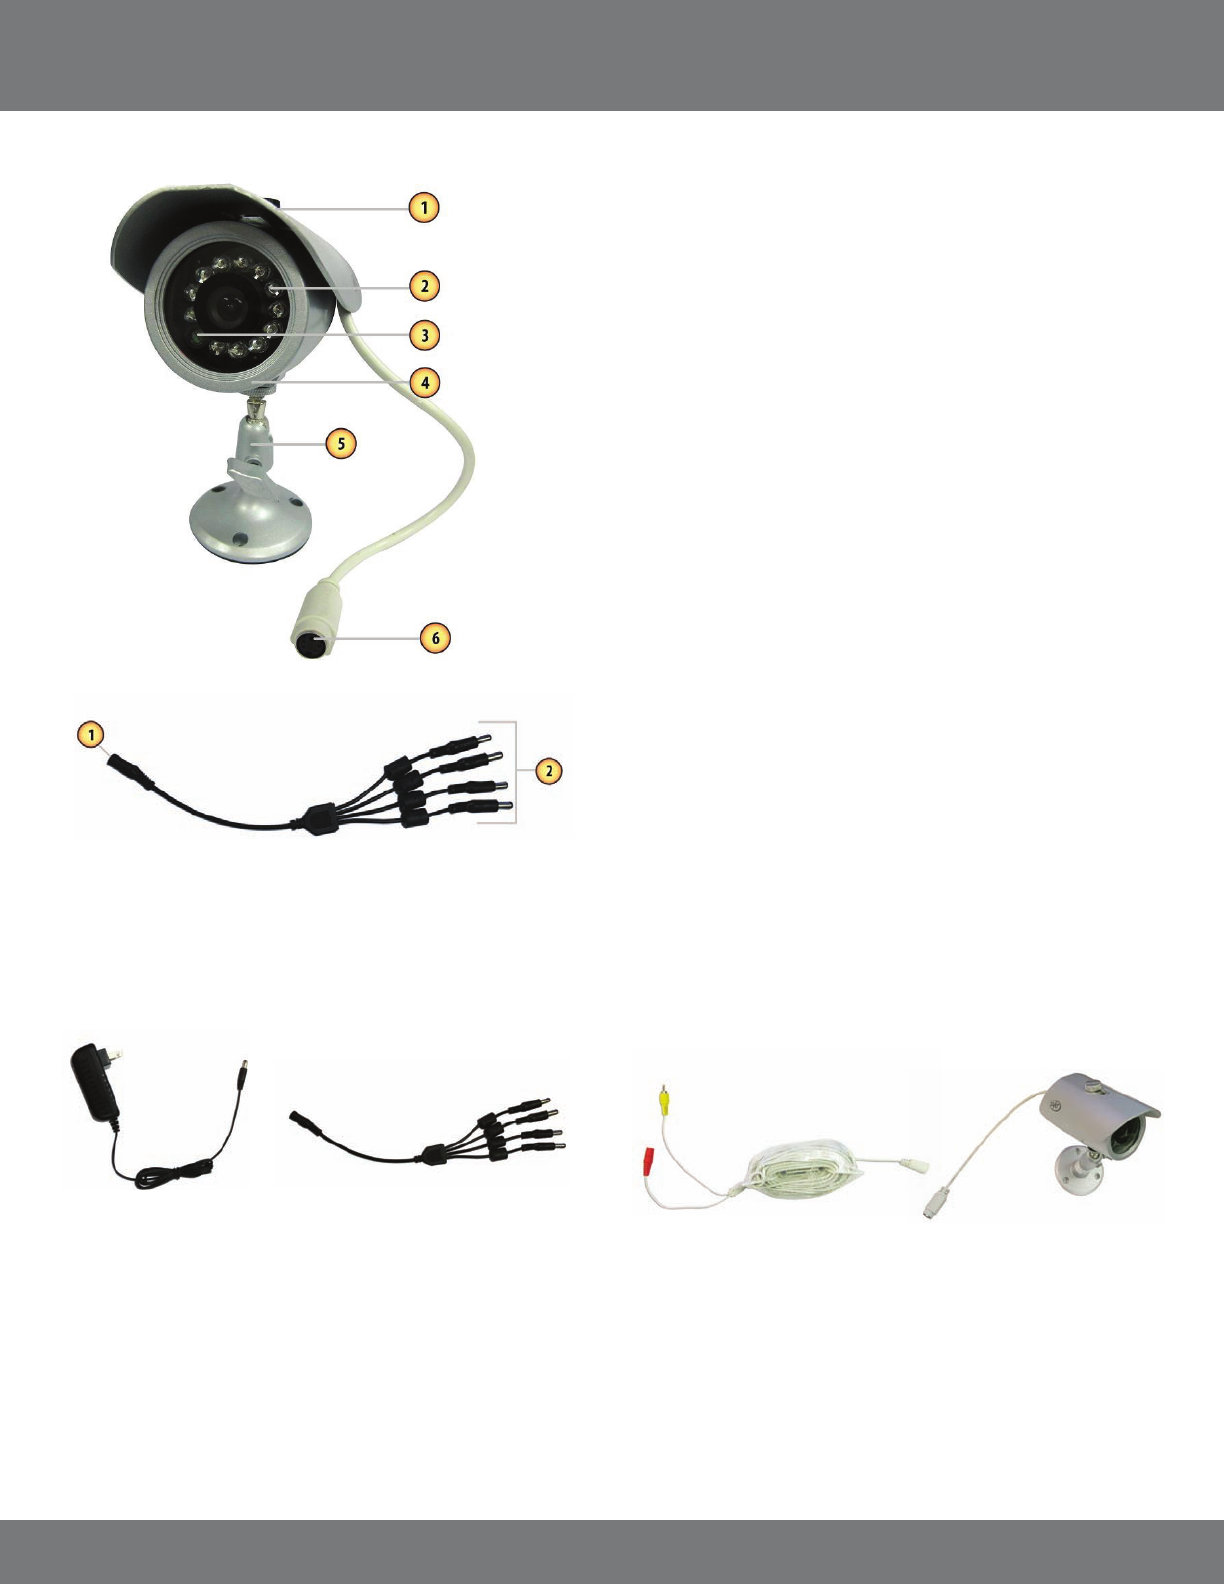
VU301-C Camera
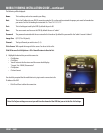
1. Sun Shield: Helps prevent glare from bright lights
2. Infrared (IR): LEDs Allows the camera to see in the dark up
to 15ft away.
3. CDS Sensor: Turns on the infrared LEDs when it gets dark
4. Camera Housing: Made of anodized aluminum to prevent rust
5. Camera Mount: Allows the camera to be desk or wall
mountable
6. 4 PIN DIN Female Connection
IMPORTANT INFORMATION
While this camera is weatherproof, it is not waterproof. Please do
not install it in areas that receive direct rain or under eaves trough
draining spots. Do not cut the DC power cable of this camera to t with
another power source. Do not cut the video connection wire to t with
a dierent video connection type. Any unauthorized modications will
void your warranty.
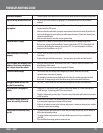
One to Four Power Supply Cable
1. Female 12V Connection
2. Camera Power Supply Ports
The One to Four power Supply Cable allows you to plug four cameras
into one power source, saving you time and space.
USING THE ONE TO FOUR PORT POWER SUPPLY WITH CAMERAS
A
B
C
D
D
D
D
E
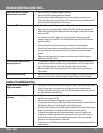
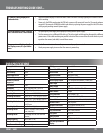
Wiring Diagram
Wiring Instructions
H
F
G
1. Plug 12V adapter (A) into electrical wall outlet or surge protecting power bar.
2. Plug the single end (female 12 V connection) of the four to one power supply (C) into the male end of the 12V adapter (B).
3. Connect the 4PIN DIN female connection on the camera (E) into the 4PIN DIN male connection on the 60ft video/power wire (F).
4. Plug the red adapter from the 60ft video/power wire (G) into one of the ports of the four to one power supply (D).
5. Connect the RCA Video from the 60ft video/power wire (H) into the Channel/Camera inputs on your DVR or monitor.
6. Repeat for all cameras (using two, four to one power supply cables for all 8 included cameras).


