


198
1
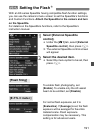
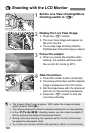
Set the Live View shooting/Movie
shooting switch to <A>.
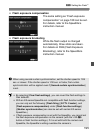
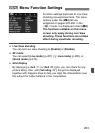
2
Display the Live View image.
Press the <0> button.
X The Live View image will appear on
the LCD monitor.
The Live View image will closely reflect the
brightness level of the actual image you capture.
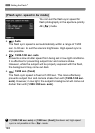
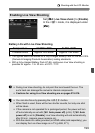
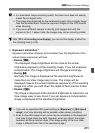
3
Focus the subject.
When you press the shutter button
halfway, the camera will focus with
the current AF mode (p.207).
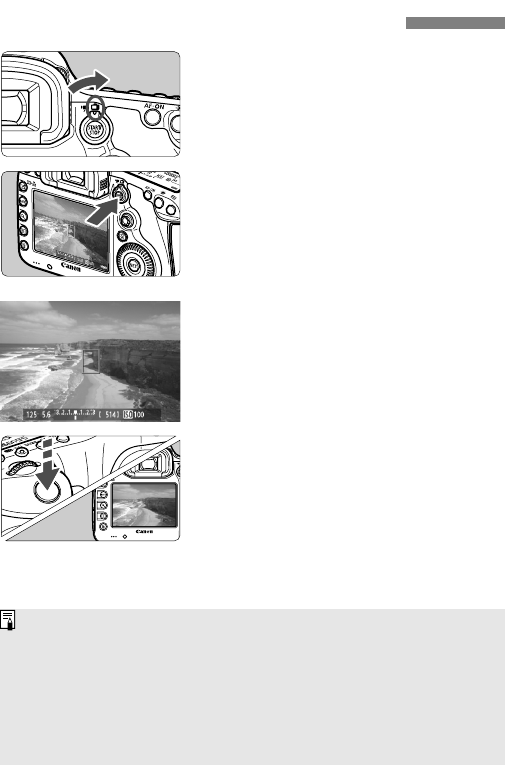
4
Take the picture.
Press the shutter button completely.
X
The picture will be taken and the captured
image is displayed on the LCD monitor.
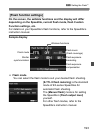
X
After the image review ends, the camera will
return to Live View shooting automatically.
Press the <0> button to end the
Live View shooting.
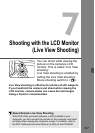
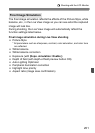
A Shooting with the LCD Monitor
The image’s field of view is approx. 100% (when the image-recording
quality is set to JPEG 73).
The metering mode will be fixed to evaluative metering for Live View shooting.
In the <d/s/f/a/F> shooting modes, you can check the depth of
field by pressing the depth-of-field preview button.
During continuous shooting, the exposure set for the first shot will also
be applied to subsequent shots.
You can also use a remote controller (sold separately, p.186) for Live View shooting.