


Chapter 5 Various Ways to Scan
Appendix
Glossary
Introduction
Index
Contents
TOP
86
How to Load
Documents
Daily Care
Troubleshooting
Operational
Settings
Replacing the
Consumables
Scanner
Overview
Various Ways to
Scan
Configuring the
Scan Settings
How to Use the
Operator Panel
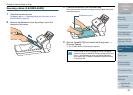
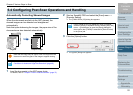
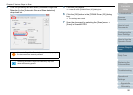
Removing Punch Holes
You can remove punch holes from the output scanned image.
1 Load the documents.
For details, refer to "Chapter 2 How to Load Documents" (page 37).
2 Start up ScandAll PRO and select the [Scan] menu J
[Scanner Setting].
D The [TWAIN Driver (32)] dialog box appears.
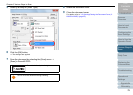
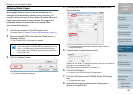
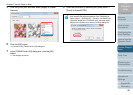
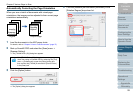
3 Click the [Option] button.
D The [Option] dialog box appears.
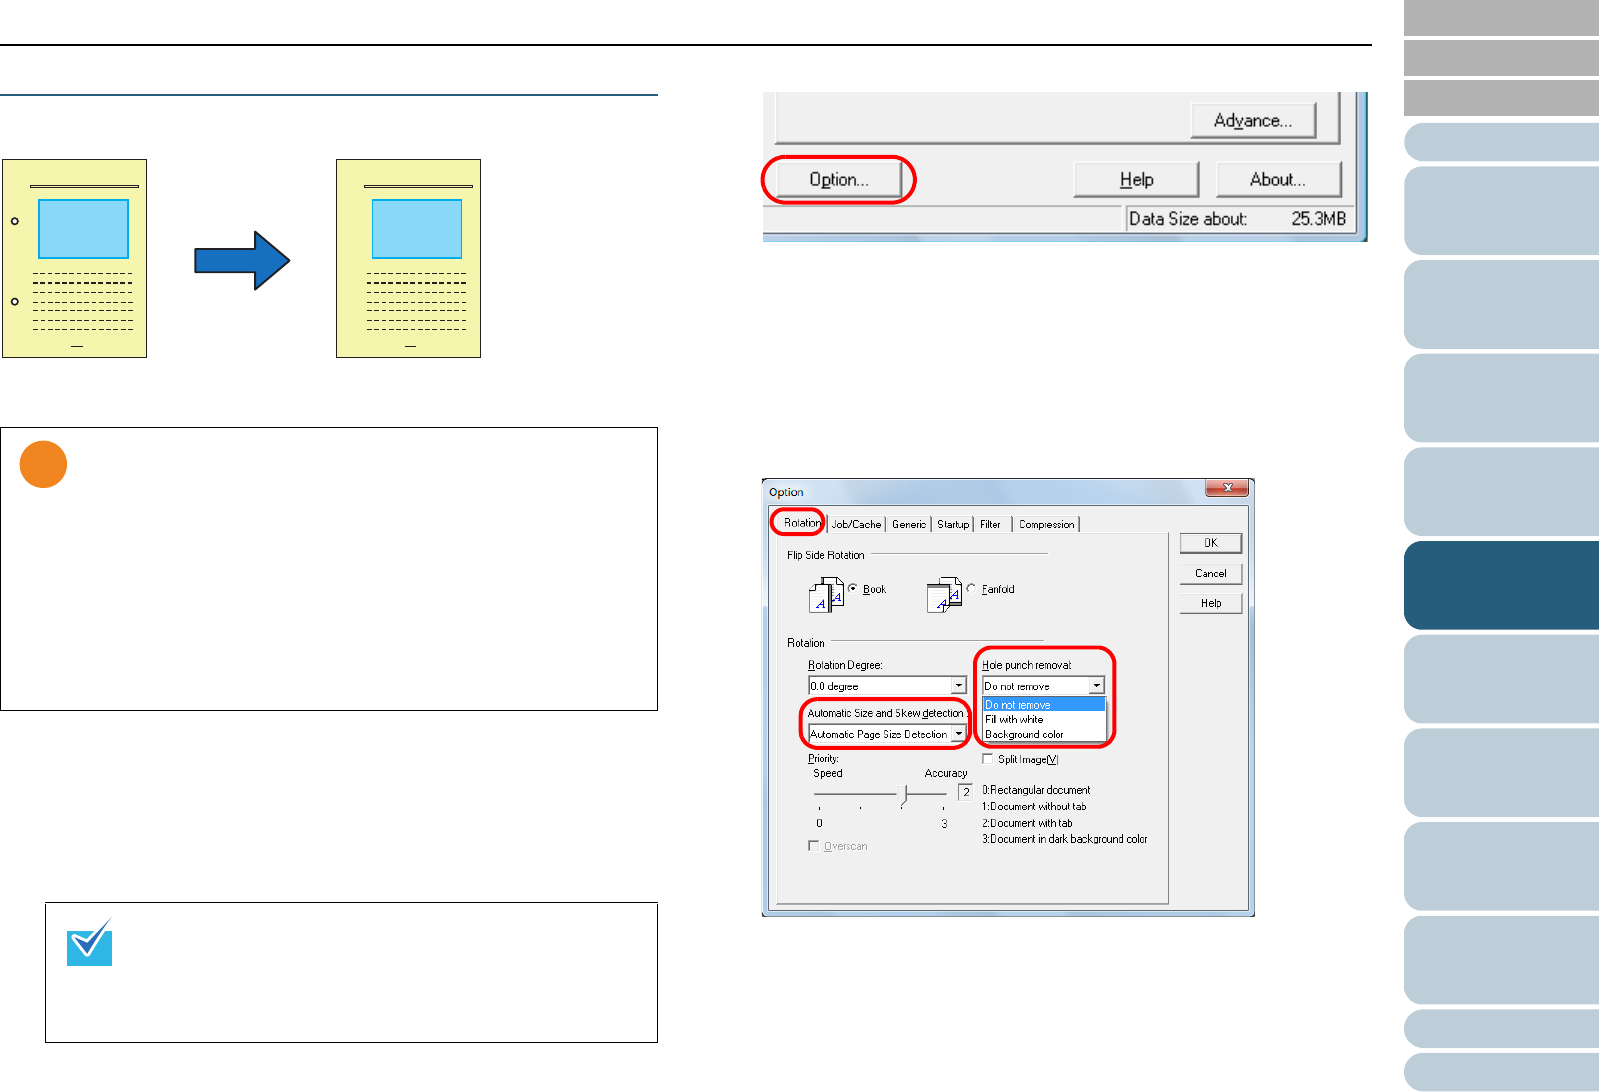
4 Click the [Rotation] tab and select [Automatic Page Size
Detection] or [Black Background] in the [Automatic Size
and Skew detection] drop-down list.
The [Hole punch removal] function is disabled when a setting other
than [Automatic Page Size Detection] or [Black Background] is
specified.
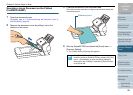
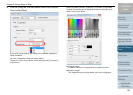
5 Select [Fill with white] or [Background color] under [Hole
punch removal].
Select [Background color] when scanning a color document. If [Fill
with white] is selected, the punch holes will appear as if they are filled
with white squares.
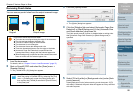
Punch holes cannot be removed when:
z The holes are not aligned along the edge of the document
z The size and gap between the holes vary
z The hole is near the edge of the document
z The document is not rectangular
z The document has a dark background color
z There are characters/pictures over the edge or the holes
z [Automatic Page Size Detection] is specified and the
scanned document is larger than the selected paper size
z [Black Background] is specified and the scanned document
does not match with the selected paper size.
If the [TWAIN Driver (32)] dialog box does not appear,
check the setting in ScandAll PRO by selecting the [Tool]
menu J [Preferences] to open the [Setup] dialog box,
then confirm that [TWAIN] is selected for [Device Driver]
in the [Scan] tab.
Original Output image