144
Connecting to Your PC
5
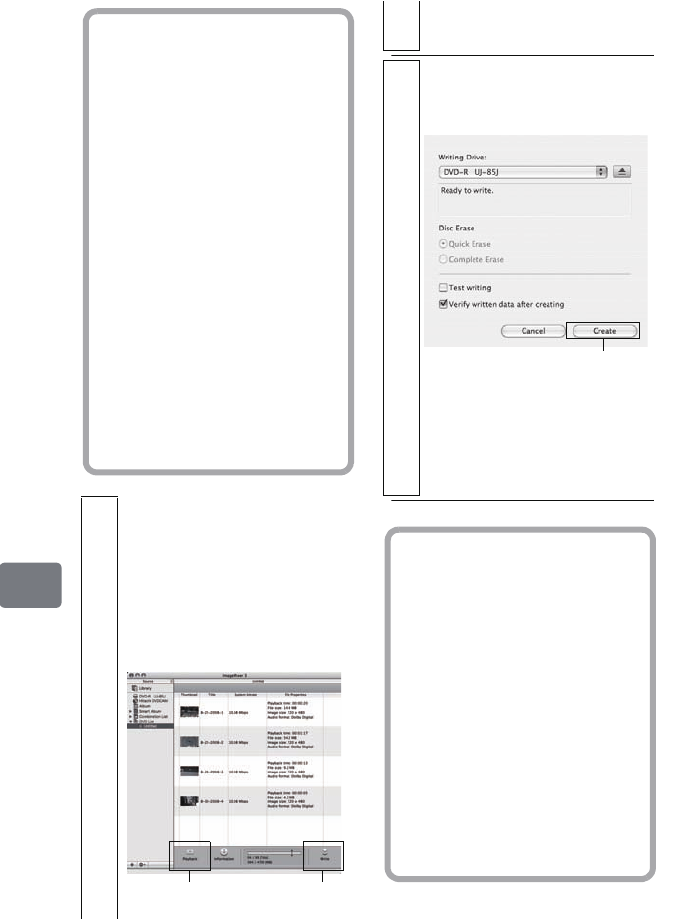
Write the files to a DVD by clicking
“Write” at the bottom of the screen.
Before clicking “Write”, you can
double check the video files in the
DVD list. Select the video file you
wish to check and click the
Playback icon at the bottom of the
screen.
Hints
• You can also use Album or
Smart Album to easily prepare a
DVD creation list, by choosing
the video files to create a DVD-
Video with, and then clicking
“DVD List” at the bottom of the
screen.
• Even after creating a DVD list,
you can drag a video file from
the library and drop it on the
DVD list on the left of screen to
add the file.
• While a DVD list is displayed,
click the Utility Menu button at
the bottom of the screen and
select “Edit DVD List”. You
can reselect and set the DVD
menu design, the size of the
DVD disc, and the picture
ClickClick to check
The writing screen will appear
after clicking “Write”.
6
Choose the drive that you use for
writing, and then click “Create”.
Writing to DVD will start.
• If you wish to create multiple
DVDs with the same contents,
choose “Yes” for the message
“Do you want to create another
disc?” that will be displayed
after a DVD is created.
Click
Hints
• If you load a written DVD-RW
in the write drive, the prompt
“Are you sure you want to
delete the contents of disc?” will
appear.
Deleting the content of disc will
erase all data on the disc.
Carefully check the content of
the disc before erasing.
• If the disc contains a video file
that does not conform to DVD-
Video format, the video will be
formatted, resulting in
deterioration of image quality.
DZ-HS903-803-US-Ea_IM_v01d05n02.p.book Page 144 Friday, September 12, 2008 8:22 PM
