151
7
Downloading Images to Your Computer
• To load images from the camera with assistance from the Windows XP
“Scanner and Camera Wizard”, select [Microsoft Scanner and Camera
Wizard].
• Leaving the [Always use this program for this action] check box
unchecked will cause the [Caplio 500SE] screen to be displayed each
time you transfer images from the camera, thereby allowing you to
choose whether to use [RICOH Gate La] or the [Microsoft Scanner and
Camera Wizard] for image transfers.
• If your PC is installed with Windows XP Service Pack 2 and a warning
message is displayed, see P.230.
Note ----------------------------------------------------------------------------------------------
• If the computer does not recognize the camera, uninstall the software (GP.140)
and install it again.
• When downloading images from your camera, load a battery with adequate remaining
power in the camera. Use of the AC adapter (sold separately) is recommended.
• When transferring images to a computer using RICOH Gate La, the file being
transferred is renamed and saved.
You can download images from the camera to a computer without
having to use software.
1
Change [USB CONNECTION] to [MASS STR] on the
SETUP menu.
• For more details, see P.123. At the time of purchase, [ORIGINAL] is
selected.
2
Make sure that the camera power is off.
3
Connect the accessory USB cable to a USB port of your
computer.
4
Connect the USB cable to the
USB terminal of your camera.
• Your camera turns on.
• Your computer automatically reads a
file necessary for recognizing the
camera as a drive.
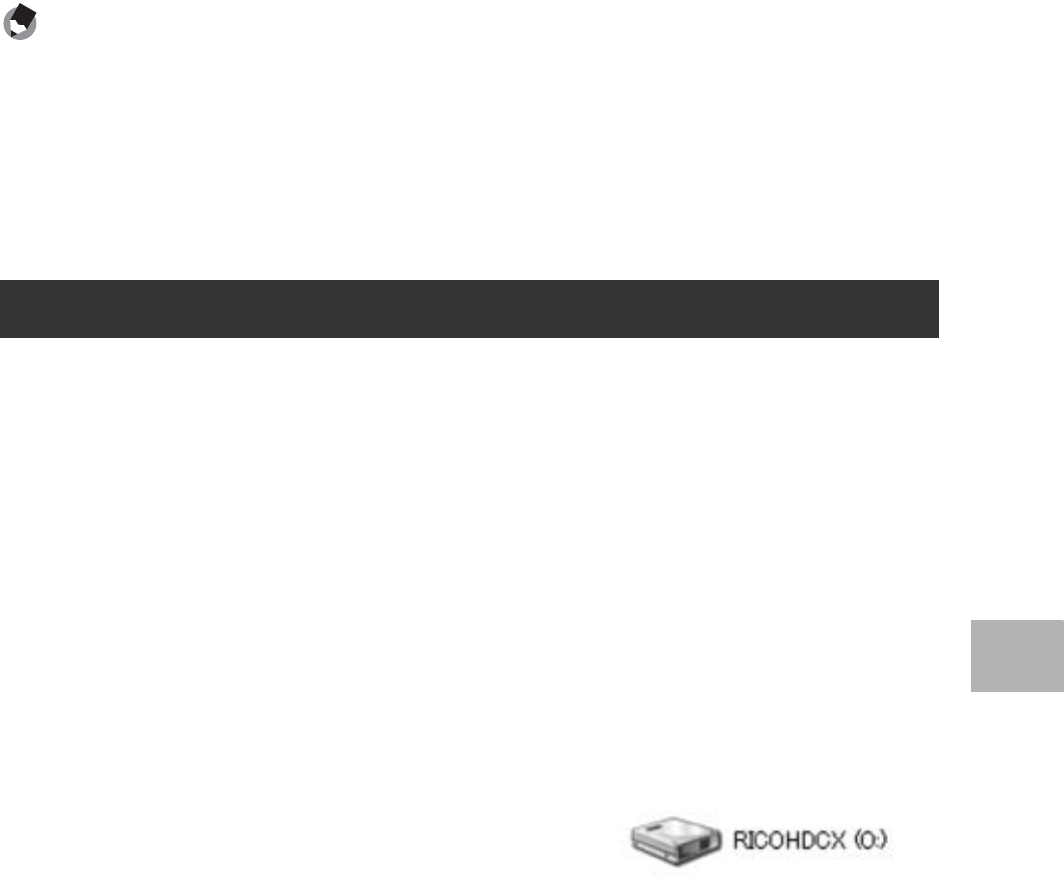
• After this preparation, the camera is displayed as a drive at [My
Computer] (Windows) or Desktop (Macintosh).
Downloading Images in Mass Storage Mode
Example of the display in
Windows XP
