61
Web Server Mode (G800SE Only)
4
Connecting to a Smartphone or Computer
1
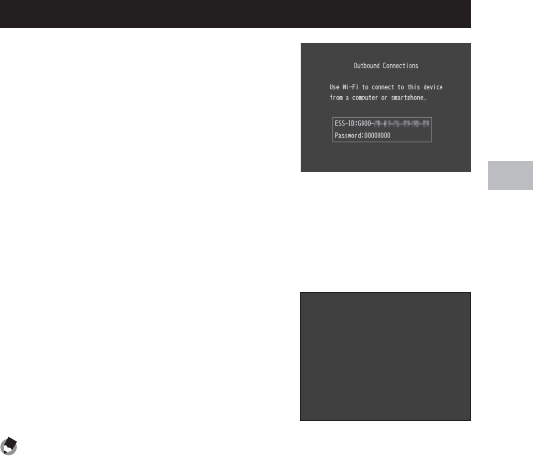
Rotate the mode dial to DX.
• At default settings, an ESS-ID and
password will be displayed.
• With the exceptions of the power
switch and mode dial, all camera
controls are disabled.
2
Connect.
• On the smartphone or computer, enter the ESS-ID and password
from Step 1. For information on wireless LAN (Wi-Fi) connections, see
the documentation for the remote device.
• Confirm that a wireless connection has been established.
3
Enter the camera URL.
• Launch the web browser on the remote
device and enter the URL displayed
by the camera. When a connection is
established, the browser will show a
menu and the camera will show the
shooting display.
URL
http
:
//
192.168.1.1
URL
http
:
//
192.168.1.1
Note -------------------------------------------------------------------------------------
• To use an existing access point, adjust settings in the [Web Server] tab of the
supplied ST-10 software (G P.62). When the mode dial is rotated to DX, the
camera will connect to the access point; the display shown in Step 3 will appear
when the connection is complete.
• When [Infrastructure AP] is selected for [Connection Method] in the [Web
Server] tab, the camera functions as an access point and you can enter the
ESS-IS (SSID) and password of your choice. Enter the chosen ESS-ID and
password in Step 2; the camera will not display the ESS-ID and password in
Step1. If the password is left blank, a connection can be established simply by
selecting the camera ESS-ID.
• The above settings can also be adjusted using the [Send To]> [Web Server
Options] item in the expanded settings menu (GP.152).
