


54
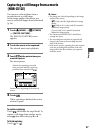
Printing recorded still images (PictBridge compliant
printer)
You can print out still images using a
PictBridge compliant printer, without
connecting the camcorder to a computer.
Turn on the printer.
Insert the “Memory Stick PRO Duo”
containing still images into your
camcorder.
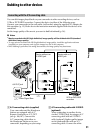
1 Connect the Handycam Station to
the wall outlet (wall socket) using
the supplied AC Adaptor.
2 Set the camcorder onto the
Handycam Station securely, then
turn on your camcorder.
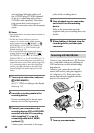
3 Connect the (USB) jack of the
Handycam Station to the printer
using the USB cable.
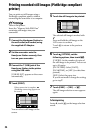
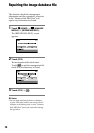
[USB SELECT] appears on the screen
automatically.
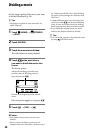
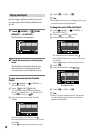
4 Touch [PRINT].
You can select a still image on the
screen.
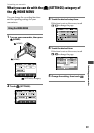
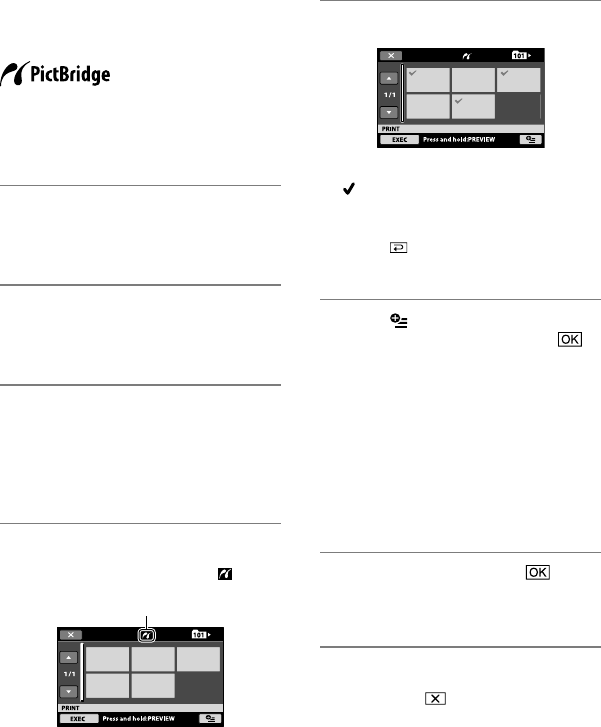
5 Touch the still image to be printed.
e selected still image is marked with
.
Press and hold the still image on the
LCD screen to conrm.
Touch
to return to the previous
screen.
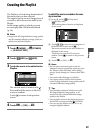
6 Touch (OPTION), set the
following options, then touch .
[COPIES]: Set the number of copies of
the still image to be printed. You can set
up to 20 copies.
[DATE/TIME]: Select [DATE],
[DAY&TIME], or [OFF] (no date/time
printed).
[SIZE]: Select the paper size.
If you do not need to change the setting,
go to step 7.
7 Touch [EXEC] [YES] .
e still image selection screen appears
again.
To nish printing
In step 4, touch on the image selection
screen.
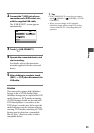
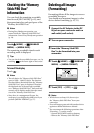
When connection is complete,
(PictBridge connecting) appears on
the screen.