Customizing your camcorder
75
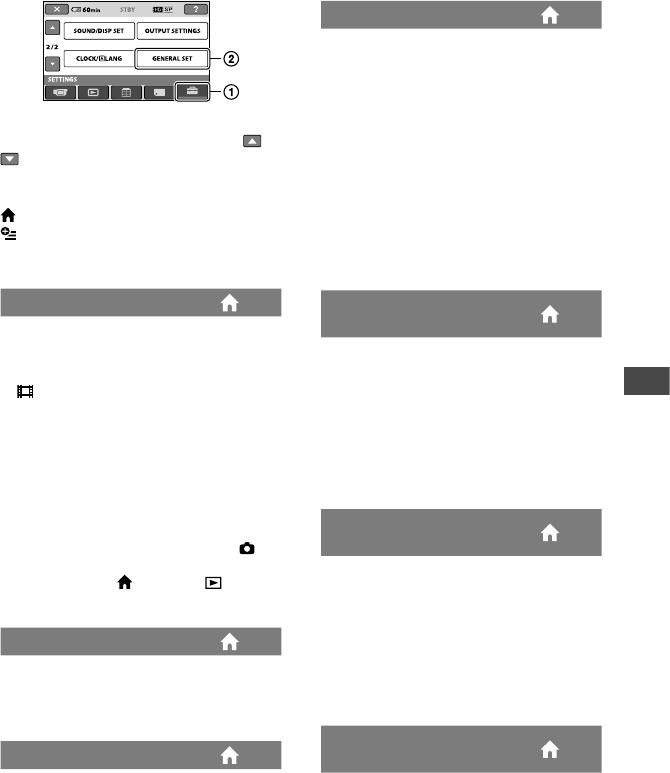
GENERAL SET
(Other setup items)
Touch , then .
If the item is not on the screen, touch /
to change the page.
How to set
(HOME) menu page 59
(OPTION) menu page 76
e default settings are marked with .
DEMO MODE
e default setting is [ON], allowing you
to view the demonstration in about 10
minutes, aer you turn the POWER switch
to (Movie).
Tips
e demonstration will be suspended in the
following situations.
When you press START/STOP or PHOTO
When you touch the screen during the
demonstration (e demonstration starts
again aer about 10 minutes)
When you turn the POWER switch to
(Still)
When you press (HOME) or (VIEW
IMAGES)
REC LAMP (Recording lamp)
e camera recording lamp on the front
of your camcorder lights up, as the default
setting is [ON].
CALIBRATION
See page 101.
A.SHUT OFF (Auto shut o)
5min
e camcorder is automatically turned o
when you do not operate your camcorder
for more than approximately 5 minutes.
NEVER
e camcorder is not automatically turned
o.
Notes
When you connect your camcorder to a
wall outlet (wall socket), [A.SHUT OFF] is
automatically set to [NEVER].
QUICK ON STBY (Quick on
standby)
You can set the desired turn o time of the
camcorder with [QUICK ON STBY] while
the Sleep mode is set (p. 28). e default
setting is [10min].
Notes
While the Sleep mode is set, the setting of
[A.SHUT OFF] becomes ineective.
REMOTE CTRL (Remote
control)
e default setting is [ON], allowing you
to use the supplied Remote Commander
(p. 108).
Tips
Set to [OFF] to prevent your camcorder from
responding to a command sent by another VCR
remote control unit.
CTRL FOR HDMI (Control for
HDMI)
e default setting is [ON], allowing you to
do the playback operation with the remote
commander of your TV by connecting your
camcorder to a “BRAVIA” Sync compatible
TV with the HDMI cable (optional) (p. 41).


