


36 en | Configuration using a Web browser VOT-320
DOC | V4.5 | 2010.09 Installation and Operating Manual Bosch Sicherheitssysteme GmbH
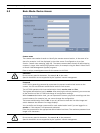
8. If there are empty lines at the bottom of the table, for example after deletions, you can
add new data by marking the row and selecting required values from the list fields.
9. Now click the OK button to apply and activate the table.
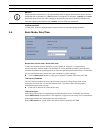
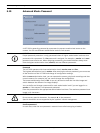
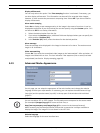
Time server IP address
The VOT-320 can receive the time signal from a time server using various time server
protocols, and then use it to set the internal clock. The camera polls the time signal
automatically once every minute.
Enter the IP address of a time server here.
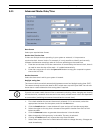
Time server type
Select the protocol that is supported by the selected time server. Preferably, you should
select SNTP server as the protocol. This supports a high level of accuracy and is required for
special applications and subsequent function extensions.
Select Time server for a time server that works with the protocol RFC 868.
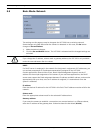
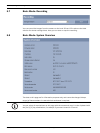
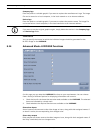
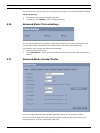
5.12 Advanced Mode: Display Stamping
Various overlays or "stamps" in the video image provide important supplementary information.
These overlays can be enabled individually and are arranged on the image in a clear manner.
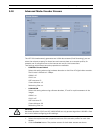
Camera name stamping
This field sets the position of the camera name overlay. It can be displayed at the Top, at the
Bottom, or at a position of your choice that you can then specify using the Custom option. Or
it can be set to Off for no overlay information.
1. Select the desired option from the list.
2. If you select the Custom option, additional fields are displayed where you can specify the
exact position (Position (XY)).
3. In the Position (XY) fields, enter the values for the desired position.
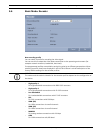
Time stamping
This field sets the position of the time overlay. It can be displayed at the Top, at the Bottom,
or at a position of your choice that you can then specify using the Custom option. Or it can be
set to Off for no overlay information.
1. Select the desired option from the list.
2. If you select the Custom option, additional fields are displayed where you can specify the
exact position (Position (XY)).
3. In the Position (XY) fields, enter the values for the desired position.