


Back Previous Page Next Page
Contents
54
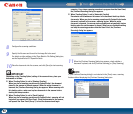
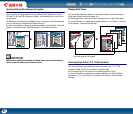
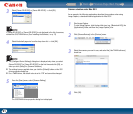
[Scan To Mail]:
Attaches scanned images to an e-mail message and sends it.
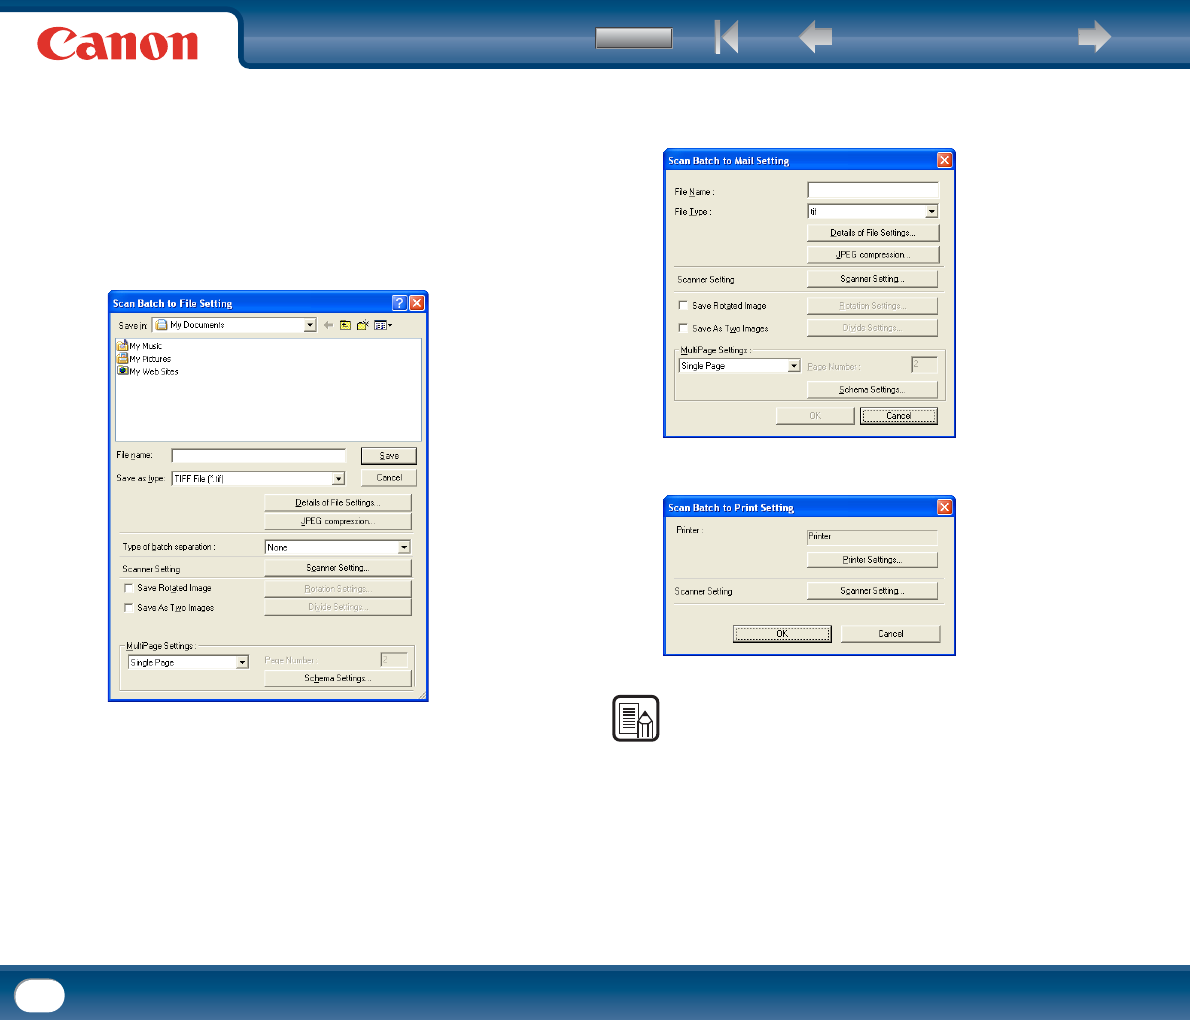
[Scan To Print]:
Prints scanned images to a specified printer.
5
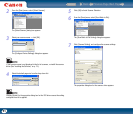
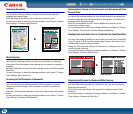
Click [Detail Settings].
A settings dialog box based on the specified function appears.
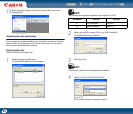
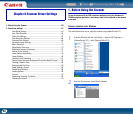
[Scan To PC]:
Specify the file name, format, and destination for the image file to be saved.
[Scan To Mail]:
Specify the file name and format for the image file to be attached to the
e-mail message.
[Scan To Print]:
Specify the printer to which images will be printed.
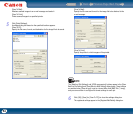
NOTE
The [Details of File Settings] and [JPEG compression] buttons appear in the [Scan
Batch to File Setting] and [Scan Batch to Mail Setting] dialog boxes. These buttons
are enabled when [Save as type] is set to a format other than [BMP File (*.bmp)],
and you can use them to configure file format settings for each job.
6
Click [OK] ([Save] for [Scan To PC]) to close the settings dialog box.
The registered settings appear in the [Register/Edit/Delete] dialog box.