


Back Previous Page Next Page
Contents
78
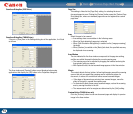
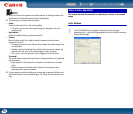
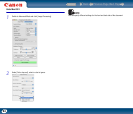
NOTE
• When you make custom gamma correction settings, all settings related to the
brightness of the scanned image will be set automatically.
• The settings you can specify are as follows:
- Select
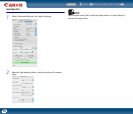
Select the side and color for the custom setting.
y The color bar and color of the sample image are changed to show the
specified color.
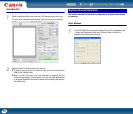
- Input method
Select the setting method for gamma correction.
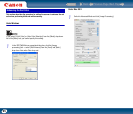
- [Factor]
Move the slider to the left or right to adjust the gamma correction factor
between 0.2 and 5.0.
y The gamma correction value, Gamma Curve Graph, and sample image color
are interlinked.
y Clicking a point in the Gamma Curve Graph with your mouse changes the
gamma curve and color of the sample image to match that point.
y You can also move the gamma curve by dragging it with the mouse.
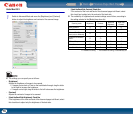
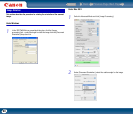
- [Freehand]
The output value for a particular input value in the gamma table can be specified
with the mouse.
y Click any point in the Gamma Curve Graph to set that point as an output
value.
y Drag the mouse on the Gamma Curve Graph to set the output value
according to the mouse movement.
• Custom gamma correction settings can be exported as gamma table data, and
data exported earlier can be imported again. For details, see the scanner driver
help.
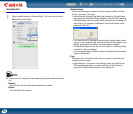
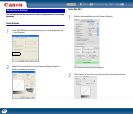
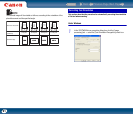
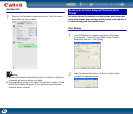
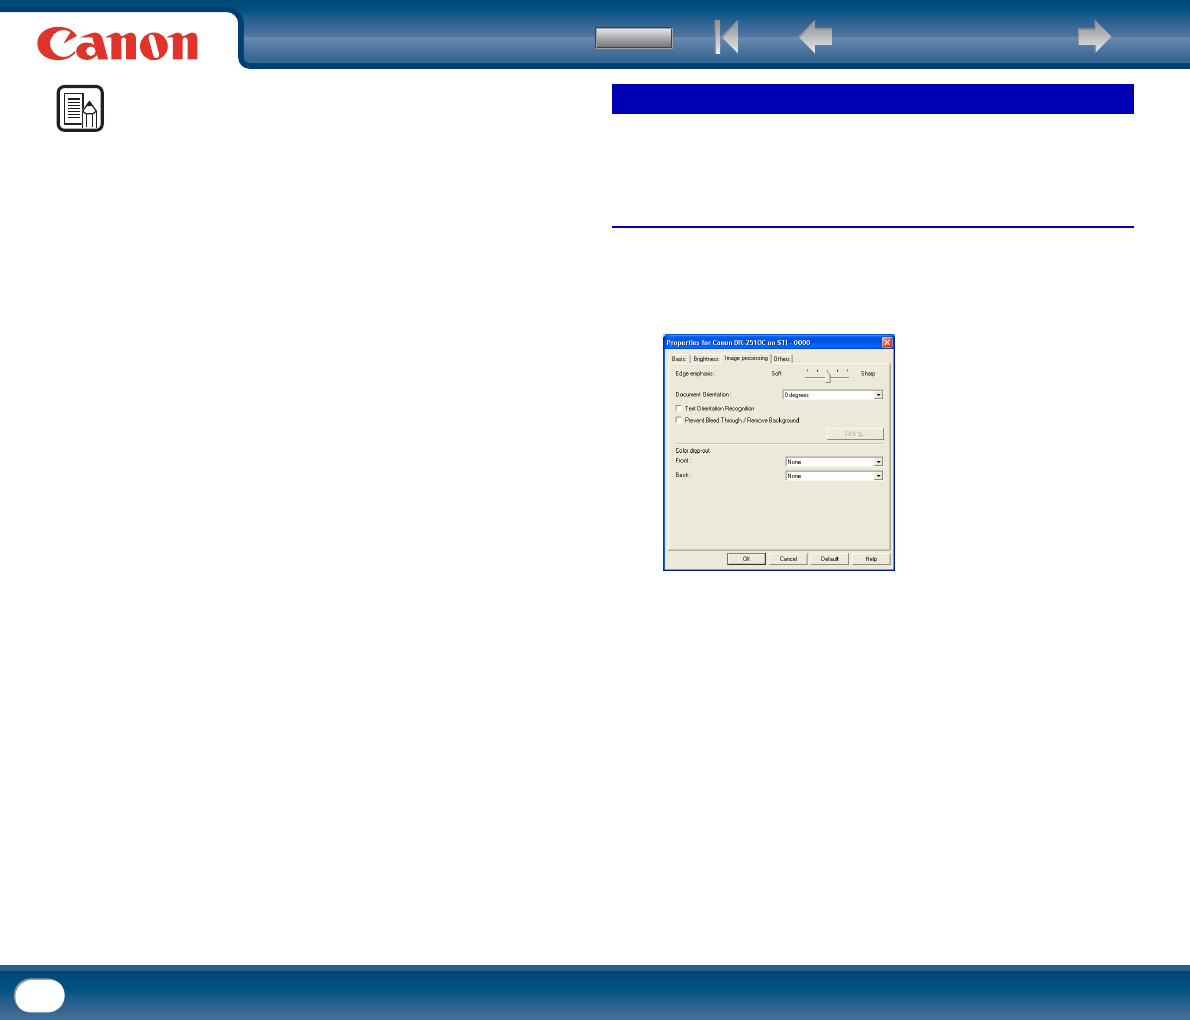
This section describes the procedure for adjusting the contours of the scanned
image.
Under Windows
1
In the ISIS/TWAIN driver properties dialog box, click the [Image
processing] tab → adjust the [Edge emphasis] slider to adjust the contours
of the scanned image.
Image Contour Adjustment