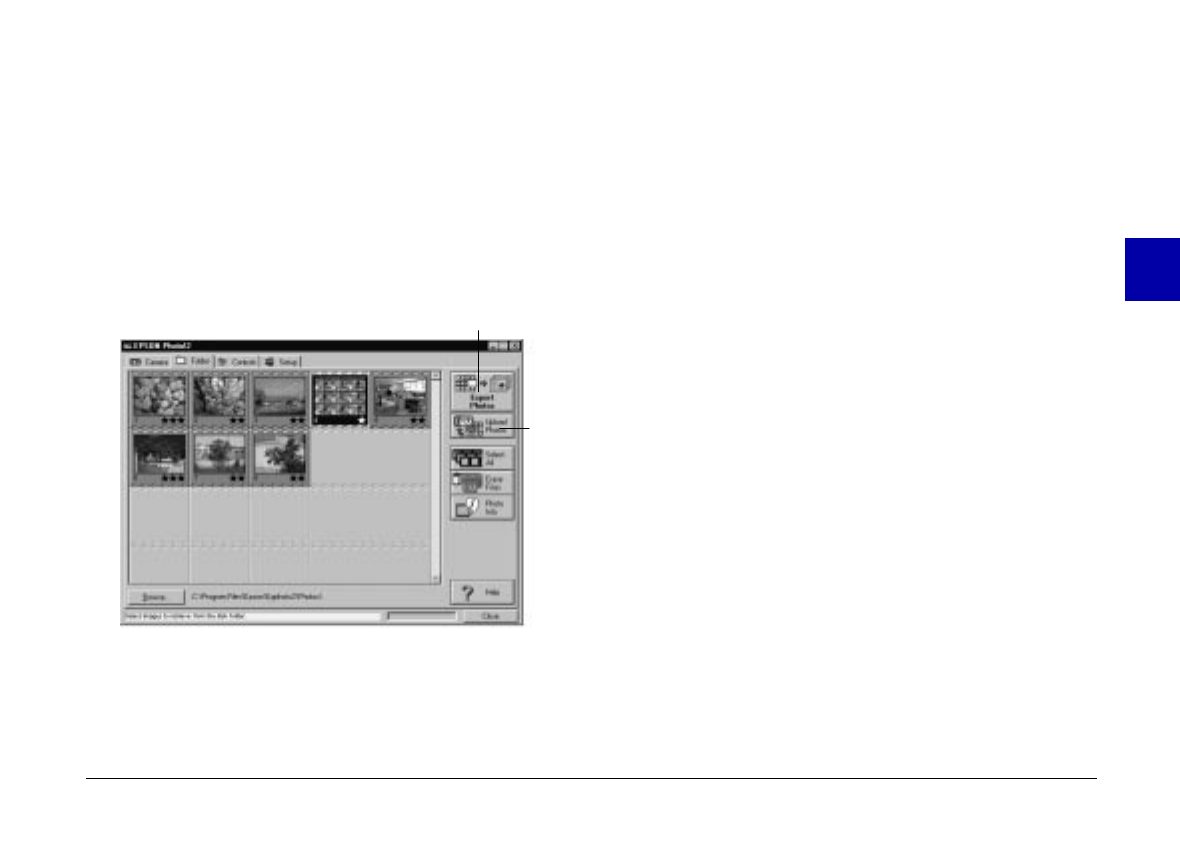
The only differences between the Folder menu and the
Camera menu are that the Folder menu does not have a
photo save button, and does have a Browse button and
an Upload Photos button. The Browse button allows you
to select the folder containing the image files you want to
display in the image selection window. The Upload
Photos button allows you to upload images saved in
EPSON Photo file format from your computer to your
camera.
Selecting images
Click on an image in the image selection window to
select it. The border around an image turns blue when it
is selected. Click the
Select All
button to select all the
photos at once.
You can use the same methods to select multiple images
on the Folder menu as you can on the Camera menu. See
page 44 for details.
Transfering photos
As on the Camera menu, the name and function of the
Folder menu’s photo transfer button varies depending
how you open your EPSON Photo!2 software. See the
table on the next page for a summary.
photo transfer
button
Upload
Photos
button
3
R
Poppy Rev.B/TCAT
A5 size Chapter 3
97/09/18 pass 6
Using PhotoPC 600 with Your Computer
49
