


27
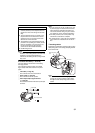
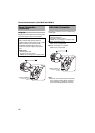
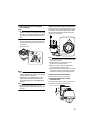
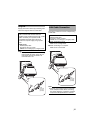
3 Insert silica gel (when using PoE
power supply)
Note:
● Be sure to insert the provided silica gel in the
position as shown in the diagram when using
the PoE power supply.Otherwise, the camera
lens may fog up or the image may become
blur.
A
Remove the screw and lift up the plate
B Take out 3 silica gels from the aluminum bag
and insert them into the position as shown in
the diagram.
C Fasten the screw
M
emo:
● During reconnection or re-installation after
repair or maintenance, make sure to replace
the silica gel with a new one.
● Consult your nearby JVCfs dealer on the
replacement procedures.Serial number of
part to be replaced: Use a LW40500-001A
silica gel.
Note:
● When mounting is performed on a rainy
day,make sure that rain water does not enter
this unit.
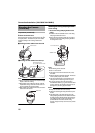
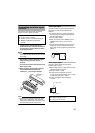
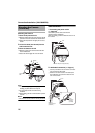
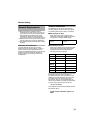
4 Mount the dome cover to the camera
Use the screws (x4) to mount the dome cover to
the camera. As a guide, install the three catches
of the dome cover and the central mark. Install
such that the central mark appears above the
JVC mark of the camera.
Note:
●
Check that there is no dirt or dust inside the dome
cover before mounting.
●
When installing on a rainy day, ensure that
raindrops do not enter the interior.
●
When mounting the dome cover, temporarily
secure the 4 screws and then tighten.
●
As a guide, tighten the screws to 0.5 N•m to 1 N•m
(5 kgf•cm to 10 kgf•cm). If the tightening is loose,
the dome cover may fog due to water seepage.
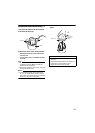
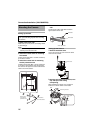
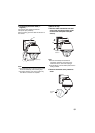
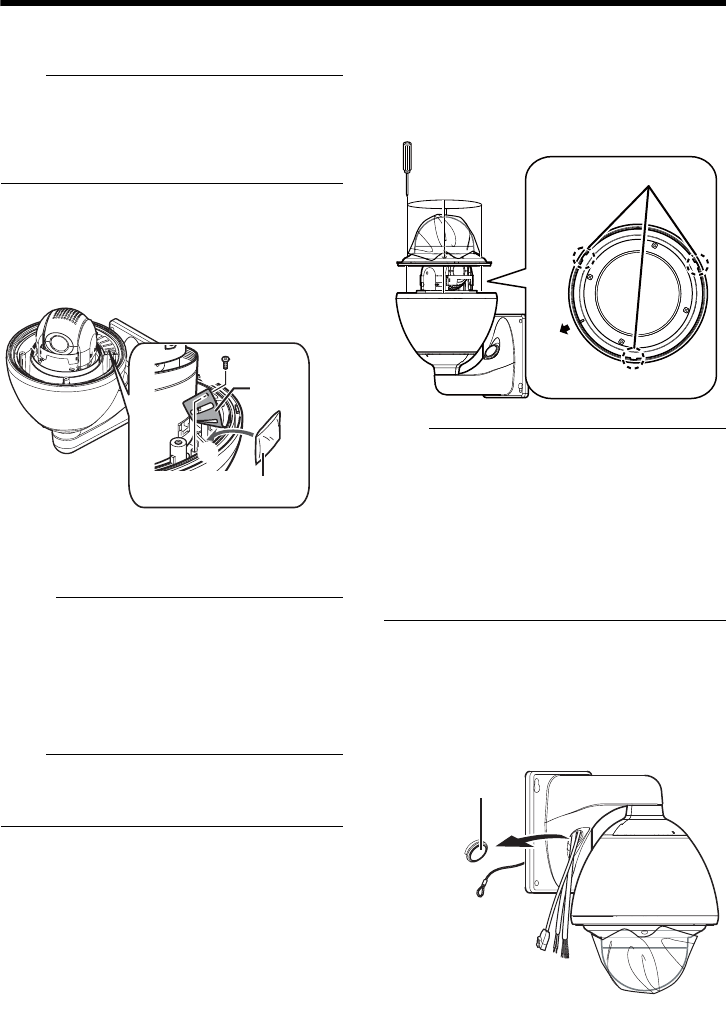
5
Remove the cable connection cap
Remove the cap on the arm of the camera.
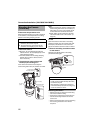
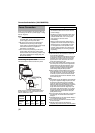
6
Pull out the cables from the cable
connection hole
Pull out the cables (except the fall prevention wire) of
the camera from the cable connection hole.
C
B
A
Plate
Silica gel ן3
Position aligning catches (x3)
Face front
(towards direction of
the JVC mark)
4
5
Cable connection cap