16
The Editor Window
4
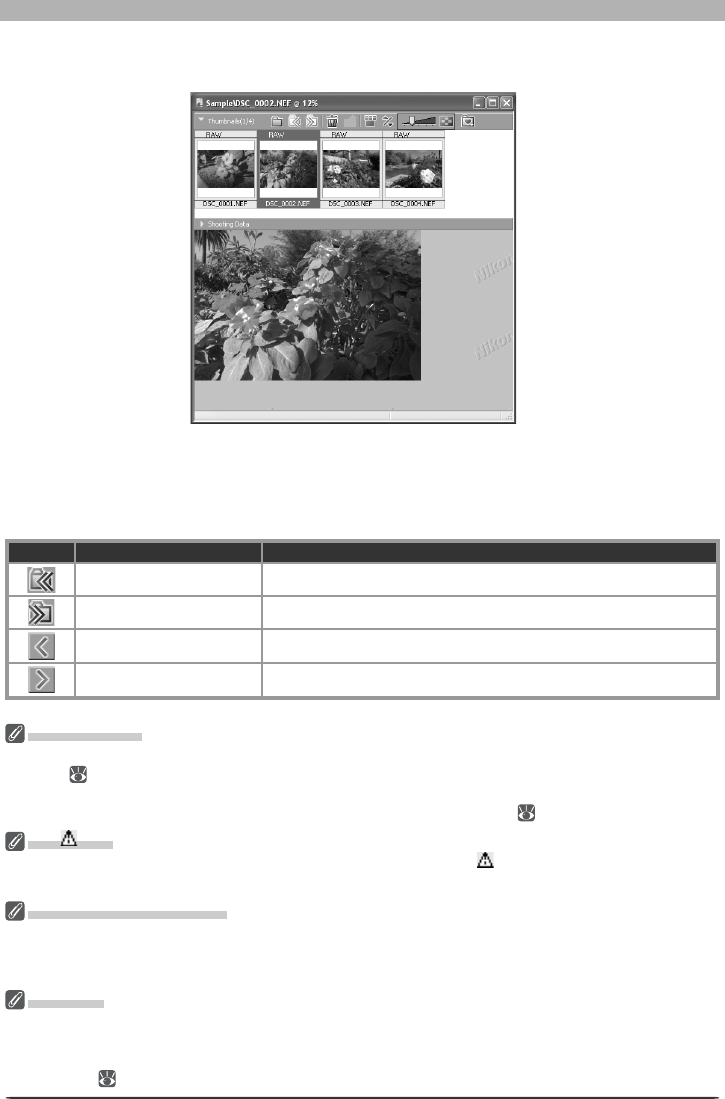
Select a thumbnail
The corresponding image will be displayed in the image area.
Multi-Image Window Buttons
The names and functions of the buttons in the Multi-Image window are shown in the fol-
lowing table:
When the thumbnail area is closed:
But ton Name Func tion
Back to previous folder Return to the previous folder.
Forward to next folder Open the next folder.
Previous Image Display the previous image in the image area.
Next Image Display the next image in the image area.
Editing Images
The image displayed in the image area can be edited in the same way as an image displayed in an image
window ( 29). Modifi ed images are indicated by an asterisk in the thumbnail list. An asterisk will also
appear next to images that have been automatically modifi ed via the Enable Color Aberration Control
option in the “Performance” tab of the “Options” (“Preferences”) dialog (
100).
The Icon
Images to which changes have not been applied are indicated by an icon. The icon disappears when
the image is displayed in the image area or is saved at the new settings.
Selecting Multiple Images
To select multiple images for printing or to save under another name, click the thumbnails while pressing
the Ctrl (Windows) or command (Macintosh) key, or use the Select All Images or Select All Unsaved
Images options in the Multi-Image menu. No image will be displayed in the image area.
“Save As”
Even if the image in the Multi-Image window is saved under another name using the Save As… option,
the original will still be displayed in the image area. If this image is saved using the Save option, any
changes will be applied to the original, and the unmodifi ed image will be lost. See “Options for Saving
Image Files” ( 84) for more information.
