7
Press the shutter release button.
œ The video clip interval shooting begins and the first
image is captured.
œ The monitor turns off. To turn the monitor back on,
press the power button. To turn it back off, press the
power button again.
œ When the time set in step 5 elapses, the next image is
captured.
œ The remaining video clip length and number of frames
displayed in the monitor will change as shown below.
Frame rate is set to X:
Decreases one frame at a time
Frame rate is set to W:
Decreases two frames at a time
œ When the set video clip length is captured, the interval
shooting is completed.
œ To pause or end the interval shooting beforehand,
perform the operations on the next page.
œ If the interval shooting is completed while the monitor
is turned on, “PROCESSING” appears while the video
clip is created from the captured images. When that is
completed, the Video Clip Shooting Setting Screen
appears.
œ If the interval shooting is completed while the monitor
is turned off, the video clip is not created and the
digital disk camera automatically turns off. Afterward,
be sure to create the video clip with the captured
images (see page 106).
œ The digital disk camera cannot be turned off during
interval shooting. You will need to first end the interval
shooting (see page 105) and then turn off the digital
disk camera.
œ Once the video clip is created from the temporary
data, the video clip can be viewed just as a normal
video clip (see page 63). Check the video clip and then
erase the temporary data (see page 106).
NOTE
œ When performing interval shooting, if necessary, use a tripod and the remote control to capture
images. This prevents the digital disk camera from moving and ensures the same camera
angle.
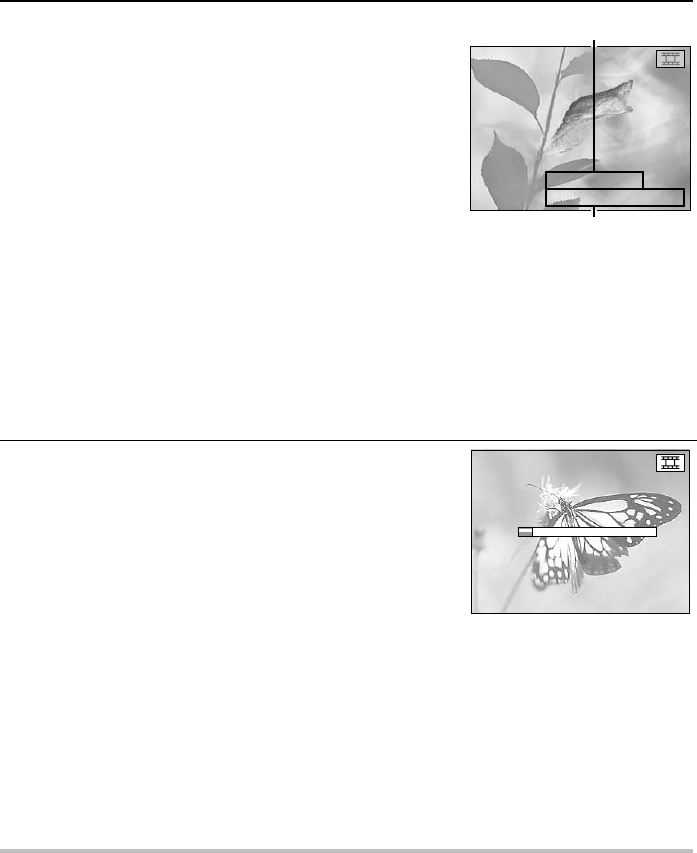
INT. 0:00:20
DUR. 0:00:04.29
Shooting interval (hrs:min:sec)
Remaining length of video clip
(hrs:min:sec.frames)
Video Clip Interval
Shooting Screen
INTERVAL MOV
PROCESSING
English
104


