Capturing and playing back sequential shots
Capturing sequential shots
Preparation
œ Insert a disk (see page 30).
œ Turn the power on (see page 32).
1
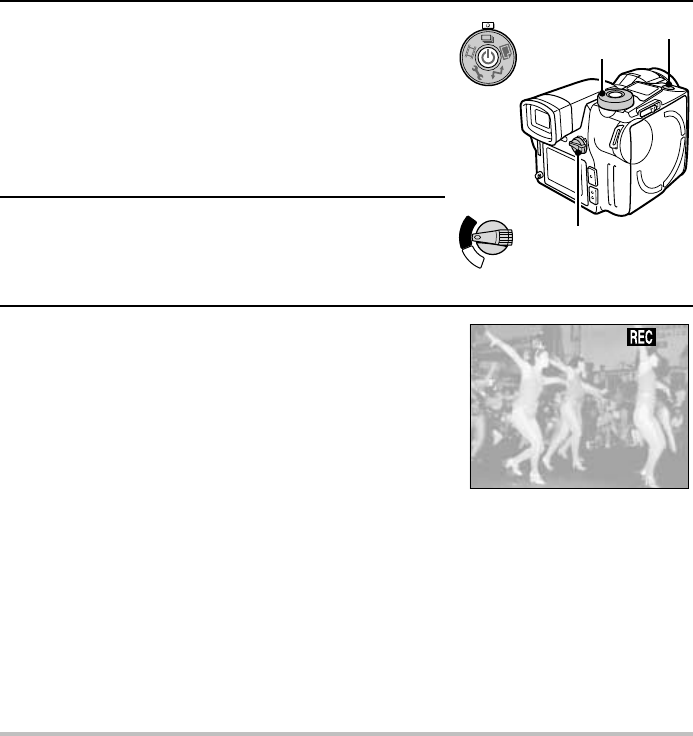
Put the digital disk camera in the sequential shot
shooting mode.
œ Set the CAMERA/PLAY switch to “CAMERA.”
œ Turn the mode selector dial to r.
œ If necessary, set the resolution (see page 84),
compression ratio (see page 85), and the sequential
shot method (standard or AE shift) (see page 82) as
desired.
2
Select which monitor to use and compose the image.
œ You can compose the image by looking through the
viewfinder or by looking at the LCD monitor. See step
2 on page 50.
3
Press the shutter release button.
œ For how to focus, see step 3 on page 51.
œ The sequential shot begins when you press the shutter
release button.
œ For information on how many images are captured,
see page 172.
œ While the sequential shot images are being captured,
the b icon will appear in the monitor.
œ When the b icon disappears from the monitor, the
sequential shot is finished.
œ When you release the shutter release button, the clock
icon | appears in the monitor signifying that the
images are being saved. During this time, sequential
shots cannot be captured. When the clock icon |
disappears, the digital disk camera is ready to capture
the next sequential shot.
œ To view the sequential shot you captured, set the
CAMERA/PLAY switch to “PLAY.”
HELP
If the clock icon | appears after the sequential shot and the disk mark å appears rotating
continuously in the mode display panel
œ After a disk has been used (saving and deleting data) over and over again, the data stored on
the disk becomes fragmented and the saving and playing back of images may take a longer
time than normal. If the data storage sectors on the disk have become drastically fragmented,
then the storage of a sequential shot may take a very long time. Wait until the clock icon | and
disk mark å disappear.
C
A
M
E
R
A
P
L
A
Y
Shutter release button
Mode selector dial
CAMERA/PLAY switch
1/508
8.0
English
56
