


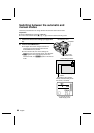

Setting the white balance
Preparation
œ Set the CAMERA/PLAY switch to “CAMERA.”
œ Turn the mode selector dial to &, r, or 7 to select the desired shooting mode.
1
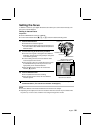
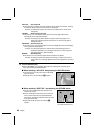
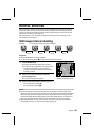
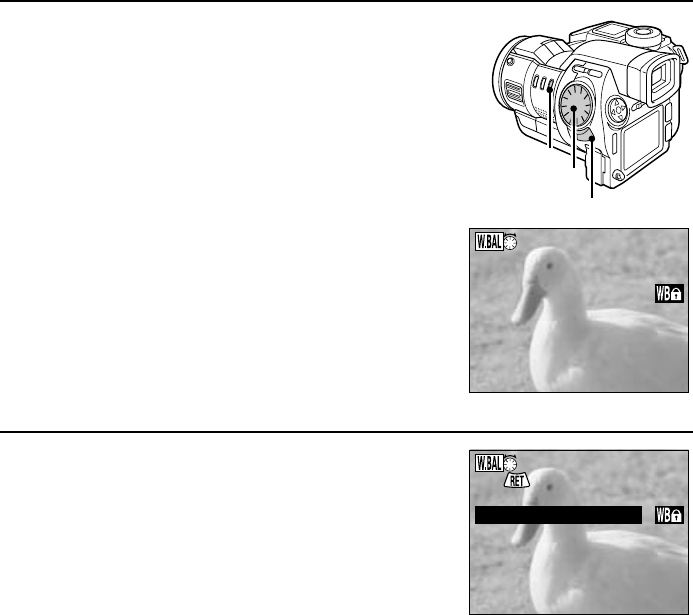
Press the W.BAL button.
œ The indicator * appears. If you are going to set a
setting other than white balance lock, proceed to step
2.
œ If the W.BAL button is pressed while auto white
balance is set (the initial setting), the white balance
lock function activates and the white balance is locked
to the setting when the W.BAL button was pressed.
After the white balance is locked, the Ö indicator
appears.
œ To perform shooting with this locked white balance
setting, press the RETURN button. By pressing the
AUTO/MAN button, you can now switch back and forth
between auto white balance and this locked setting.
œ If the W.BAL button is pressed while sampling white
balance, fine sky white balance, cloudy sky white
balance, fluorescent white balance, or tungsten white
balance is set, the White Balance Setting Screen in
step 2 appears.
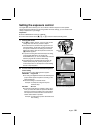
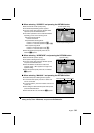
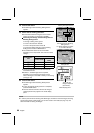
2
Turn the control dial.
œ The White Balance Setting Screen appears.
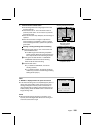
AUTOMATIC: Auto white balance
œ For having the digital disk camera automatically set a
proper white balance according to the light source.
The setting for the automatic mode.
WB LOCK: White balance lock
œ As when the W.BAL button is pressed in step 1
above, when you select WB LOCK and press the
RETURN button, the white balance is locked to the
current setting.
œ When white balance lock is set, the indicator (
appears.
W.BAL button
Control dial
RETURN button
White Balance Lock Screen
AUTOMATIC
WB LOCK
SAMPLING WB
FINE SKY
CLOUDY SKY
FLUORESCENT
TUNGSTEN
White Balance Setting Screen
English
96