ANIMATION SHOOTING
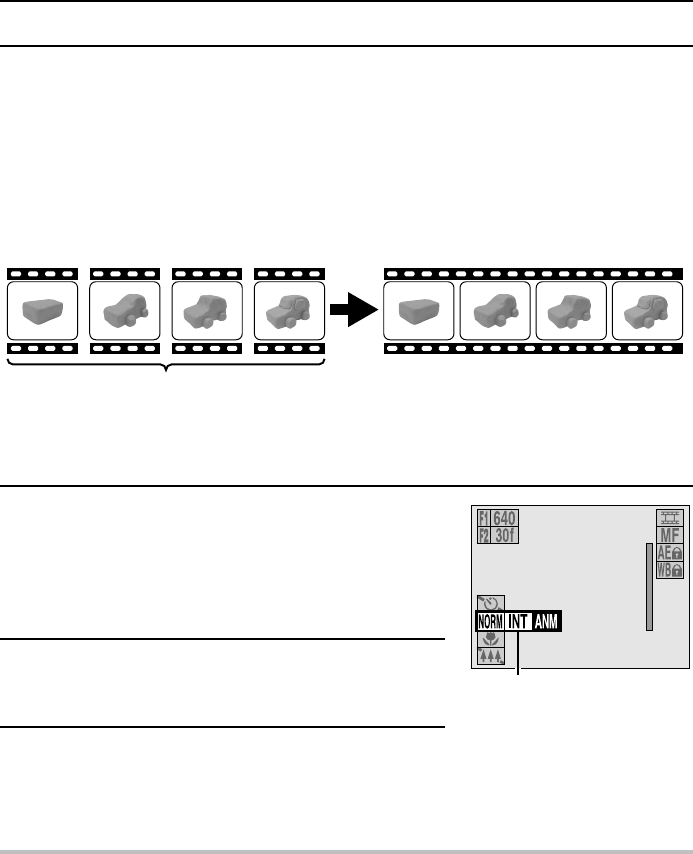
Animation shooting is a special shooting technique that allows you to create a video clip by
capturing the images for each frame separately with the shutter release button. This allows you to
capture the images when you want based on the movement of the subject or the changes that
you make to the subject. For example, you can gradually change the shape of a clay figure as
you capture the images to make a video clip where the clay figure appears to be moving by itself.
The audio is not recorded during the animation shooting, so the completed video clip will have no
sound.
Animation shooting
Preparation
œ Set the CAMERA/PLAY switch to “CAMERA.”
œ Turn the mode selector dial to 7 to select the video clip shooting mode.
1
Press the MODE button.
œ The Video Clip Shooting Setting Screen appears.
œ The resolution and frame rate settings cannot be
changed in the middle of animation shooting. If
necessary, change these settings as desired before
proceeding to step 2.
2
Press j or l on the arrow button to select the
special shooting menu.
œ The special shooting menu appears.
3
Press c on the arrow button to select the T icon.
For animation shooting: Select T
For normal shooting: Select U
For interval shooting: Select ,
NOTE
œ By fixing the settings for animation shooting, the images of the different frames shot over time
are captured more accurately. If animation shooting is performed with the digital disk camera
set to autofocus, program AE, and auto white balance, then each image may be captured with
slightly different settings making each image slightly different. To avoid this, set AE lock (see
page 92) and white balance lock (see page 96) and set the focus manually.
œ With animation shooting, audio is not recorded; you cannot use the self-timer (see page 80)
function.
Capture one frame at a time
30cm
100-0001
Video Clip Shooting
Setting Screen
Special shooting menu
107
English
