1-39
DXC-D35/D35WS(UC)
DXC-D35P/D35WSP(CE) V1
76
Chapter 4 Viewfinder Screen Indications and Menus
Chapter 4 Viewfinder Screen Indications and Menus
Using SetupNavi and SetupLog with the DSR-1/1P
The SetupNavi function records the setup menu and
setup files onto a tape, so that the same settings can be
called up and used again or copied to another camera.
The SetupLog function records a camera settings every
few seconds at shooting and displays the recorded data
in the viewfinder during playback.
Note on using an RM-M7G Remote Control Unit
When an RM-M7G is connected to the camera head,
you cannot use the SetupNavi function.
To make it possible to use the function, power OFF the
camera head after disconnecting the RM-M7G, then
power ON the camera head again.
Setting up the Camera Using
Data Recorded on Tape
The procedure to replace camera’s menu settings with
settings recorded onto video tape is described here.
1
Connect the DSR-1/1P and insert the cassette onto
which the data was recorded. Set the SETUP
switch to FILE, then set the POWER switch to ON
while holding down the UP/ON button.
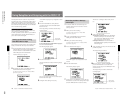
Advanced menu page 1 appears.
2
Repeatedly press down on the MENU/STATUS
switch until advanced menu 14 appears.
For details of menu operation, see “Advanced Menu
Operations” (page 64).
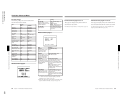
”NO TAPE” is displayed if you neglected to load a
cassette.
3
Press the UP/ON button to call up the data
recorded on the tape. (Press the DOWN/OFF
button to cancel).
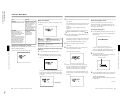
The display changes as follows and the call up
operation begins.
To abort the call up operation while in progress
Press the DOWN/OFF button.
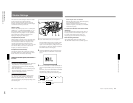
The following display appears.
4
Press the UP/ON button.
After the data has been read, the following display
appears.
The previous menu settings are overwritten by the
data recorded on the tape.
5
Change the menu settings if necessary.
Name of data
being called up
Chapter 4 Viewfinder Screen Indications and Menus
77
Chapter 4 Viewfinder Screen Indications and Menus
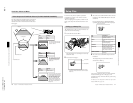
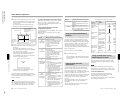
The cursor (→) changes to the text entry cursor
(↓).
8
Enter a name for the data.
Moving the text entry cursor: Press the MENU/
STATUS switch up to move the cursor to the
right, and press the MENU/STATUS switch
down to move the cursor to the left.
Selecting the character: Press the UP/ON or
DOWN/OFF button repeatedly until the desired
character appears.
9
After completing text entry, move the cursor to the
parenthesis position.
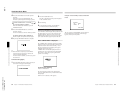
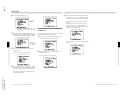
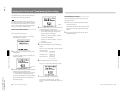
The display changes as follows.
10
Move the cursor to “SURE TO STORE?” and
press the UP/ON button to record the menu
settings onto the tape (press the MENU/STATUS
switch to cancel).
The display changes as follows and the data
recording begins.
Name of data
being recorded
Recording the Menu Settings
onto a Tape
1
Connect the DSR-1/1P and load the tape onto
which the settings are to be recorded. Turn the
camera power on.
2
Make your basic menu settings.
For details of this operation, see “Basic Menu
Operations” (page 58).
3
Again, set the POWER switch to ON while
holding down the UP/ON button.
4
Make your advanced menu settings.
For details of this operation, see “Advanced Menu
Operations” (page 64).
5
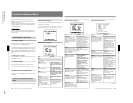
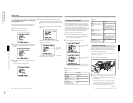
Access advanced menu page 15.
“NO TAPE” appears if you neglected to load a
cassette.
6
Press the UP/ON button.
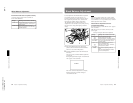
The following display appears.
7
Set the cursor to “NAME SET” and press the UP/
ON button to record the menu setting onto the tape.
(Press the MENU/STATUS switch to cancel.)


