


18
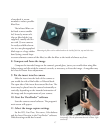
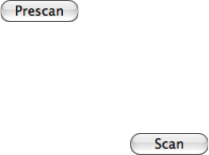
12. Prescan
Click the button to take a quick scan of the image. Check the prescan image to make
certain that the intended image is displayed in the preview. Adjust the camera and software settings
and make additional prescans until the intended image is achieved.
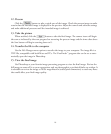
13. Take the picture
When satisfied, click the button to take the final image. e camera insert will begin
the scan as indicated by the scan progress bar traversing the prescan image and the time value above
the Scan button will begin counting down to 0.
14. Transfer the file to the computer
Use the File Manager menu option to transfer the image to your computer. e image file is a
TIFF file, compatible with both Macs and PCs. e ViewFinder™ program also can be set to auto
-
matically open the image in Photoshop.
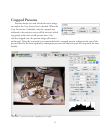
15. View the final image
Use Photoshop or your favorite image processing program to view the final image. Review the
full image to assure all is to your expectations and no photographic or technical faults are evident. It
is advisable to review the image at 100% magnification (actual pixel dimensions) to catch any flaws
that could affect your final image quality.