47
on Windows) is held down while the Insert Direction
popup is selected, or if the Rotate with Image option is
checked in the Preferences.
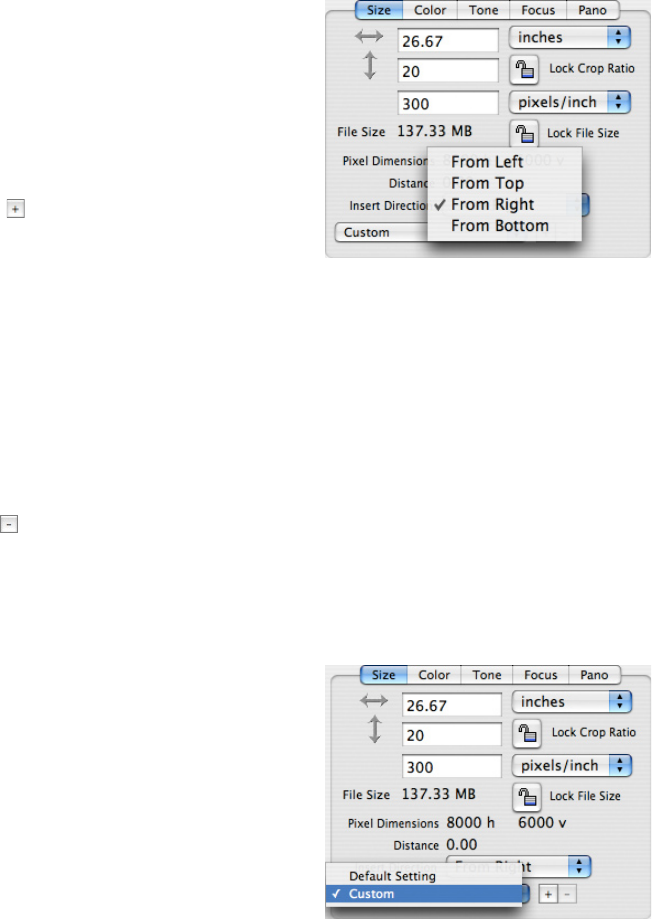
Dimension settings can be stored and reused with the
Setting popup menu (Figure D). After selecting the units, the
pixels per unit and the insert direction, selecting the “New
Setting” option from the Size popup menu (Windows),
or the Add Setting button next to the Size popup menu
(Mac), at the bottom of the Size panel will allow for saving
the current settings with a name. A dialog will appear allow
-
ing the name to be entered for the setting. e entire list
of size settings will be saved into the Preferences file when
ViewFinder™
is quit (if the Auto Save Preferences option is checked in the File menu). e settings list
will also be recorded in any settings file created with the Save Settings option from the File
menu.
Selecting “Update Current Setting” from the Size setting popup menu (Windows) will change
the current setting to include the current values in the Size panel without changing the name. Use
this menu to store common crop dimensions or specific layout windows used in your work, or special
formats for different camera uses (e.g. Mamiya RB-67 adapter or copy stand). On a Macintosh, select
the Delete Setting button next to the Size popup menu to delete the current setting.
Lock Crop Ratio - To set a specific shape for crop rectangle
Maintains proportion of crop rectangle entered (or displayed) in Size dimension boxes. Crop a
smaller or larger area of the image, maintaining proportion, by:
1) Clicking up or down buttons of Scan Area.
2) Manually moving the size of the rectangle by clicking
and dragging from any corner of the crop box.
3) Enter a new, specific number into one of the Dimen
-
sions fields and the software will calculate the other dimen-
sion to maintain the proportion and redraw the proper size
box to fit within the limits of the image area. Note: You
must tab out or click out of the Dimension box to activate
the updated numbers.
Figure C. Size tab panel showing the insert
direction popup menu.
Figure D. Size tab panel showing the setting
popup menu.


