80
SHOOTING A SNAPSHOT
Recording with Zoom Continuous
Shutter
1.
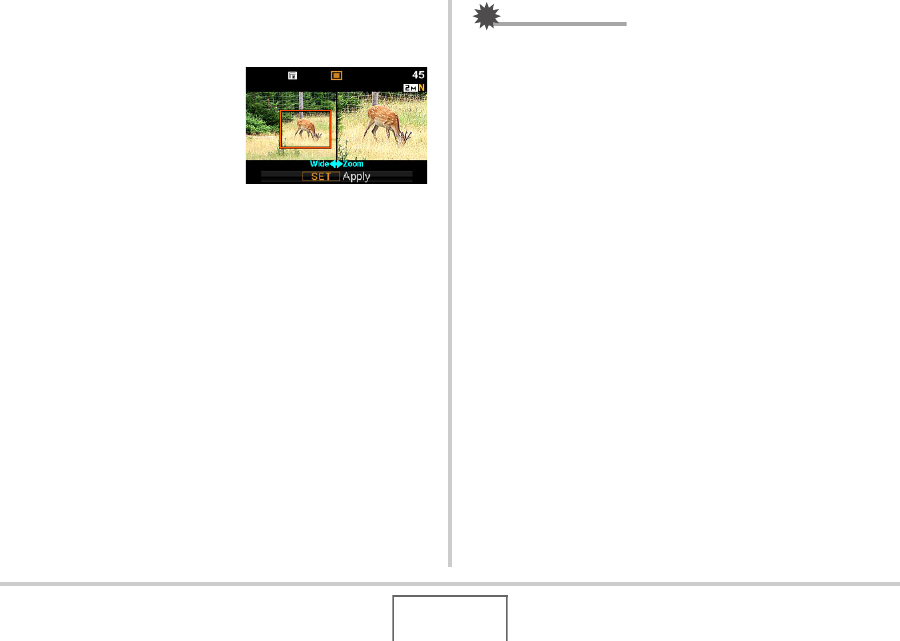
Use [S], [T], [W], and
[X] to move the
selection boundary
around the image of
the subject on the left
side of the monitor
screen until it is
located at the part you want to enlarge, and
then press [SET].
This will enlarge the area within the boundary and display it
in the right side of the monitor screen.
2. Press the shutter button to shoot.
Both the left image and the right image will be recorded.
IMPORTANT!
• Note that with zoom continuous shutter, you do not need to
keep the shutter button depressed.
• Digital zoom is disabled while shooting with zoom
continuous shutter.
• Zoom continuous shutter is not available when the image
size setting is 3:2 (3648 × 2432 pixels) or 16:9 (3648 ×
2048 pixels).
• When the image size setting is 10M (3648 × 2736 pixels) or
5M (2560 × 1920 pixels), the size of the zoomed image
produced by zoom continuous shutter is 3M (2048 × 1536
pixels).
• When Auto Focus is selected as the focus mode, the
metering mode automatically switches to “Spot” (pages
108, 120) and locates the Auto Focus area in the center of
the Zoom Continuous Shutter selection boundary.
